Belt Width Measurement
-
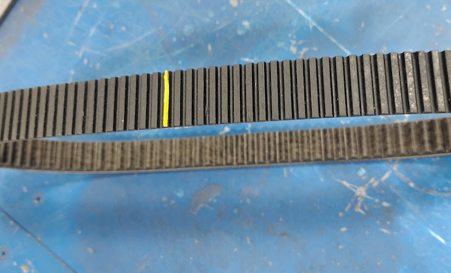
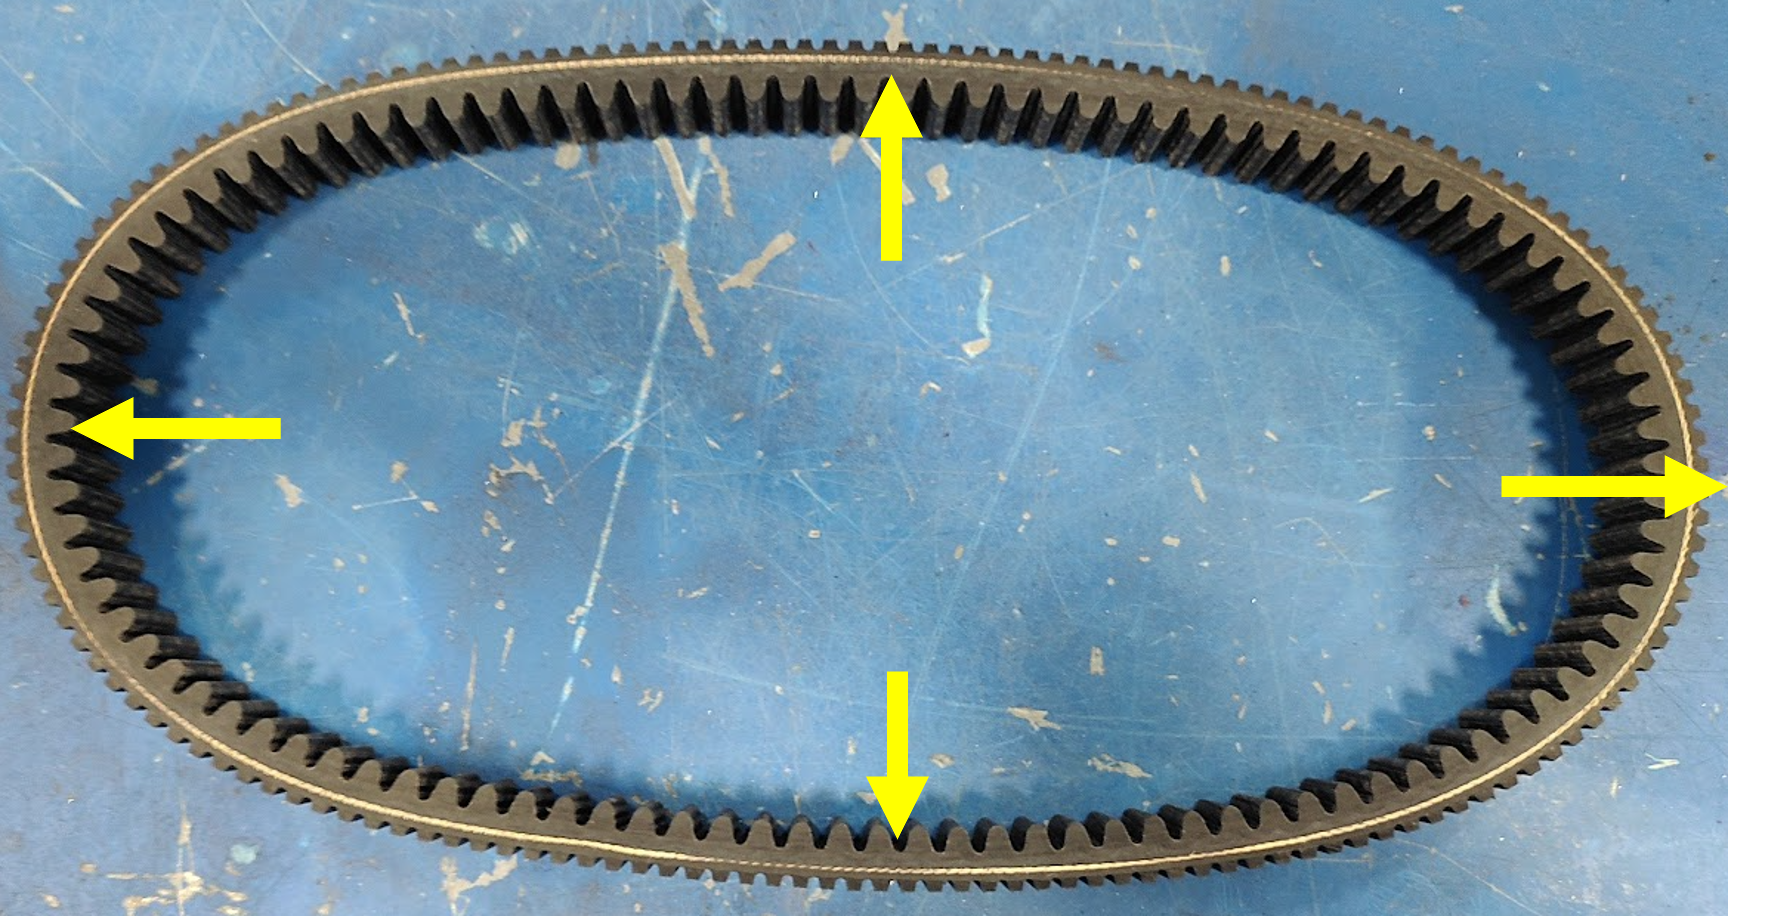
Mark the outside of the belt in 4 approximately equal positions.
-
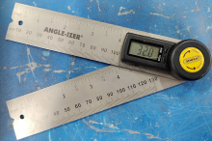
The Preferred method uses a commercially available angle finder or protractor.
-
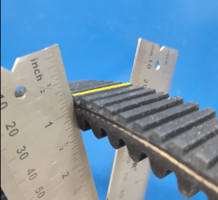
Alternatively, a pair of gauge blocks/rigid straight edges may also be used.
Angle finder / Protractor Method (Preferred)
-
Near the first mark and at a position where a bottom cog is in full contact with the angle finder, position the belt and seat it gently down into the 32° “V” of the angle finder allowing the belt to hang freely.
-
Make certain the angle does not change from the original setting.
-
-
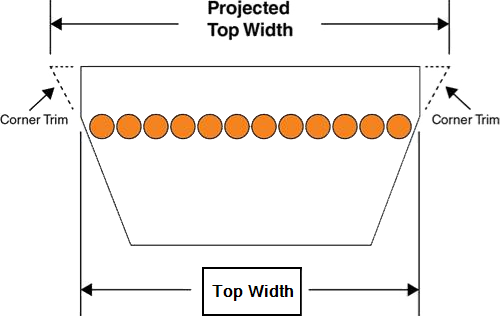
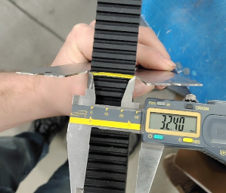
Using a caliper, measure the projected width across the top of the belt.
-
Write this measurement down.
-
Repeat this procedure for the other 3 marked locations.
-
If any measurement deviates more than 0.1 mm from the other 3, measure again to verify there isn’t some measurement error.
-
Average the 4 measurements. This is the projected top width measurement of the belt.
Gauge blocks / Rigid Straight Edges Method
-
Near the first mark, position the edge of the gauge blocks/straight edges at a position where a bottom cog is in full contact with the inner cogs.
-
Apply a gentle squeeze with your fingertips directly opposite the sides of the belt to get the gauge blocks/straight edges 1 to conform to the angle of the sides of the belt 2.
-
Using a caliper, measure the projected width across the top of the belt.
-
Write this measurement down.
-
Repeat this procedure for the other 3 marked locations.
-
If any measurement deviates more than 0.1 mm from the other 3, measure again to verify there isn’t some measurement error.
-
Average the 4 measurements, this is the projected top width measurement of the belt.
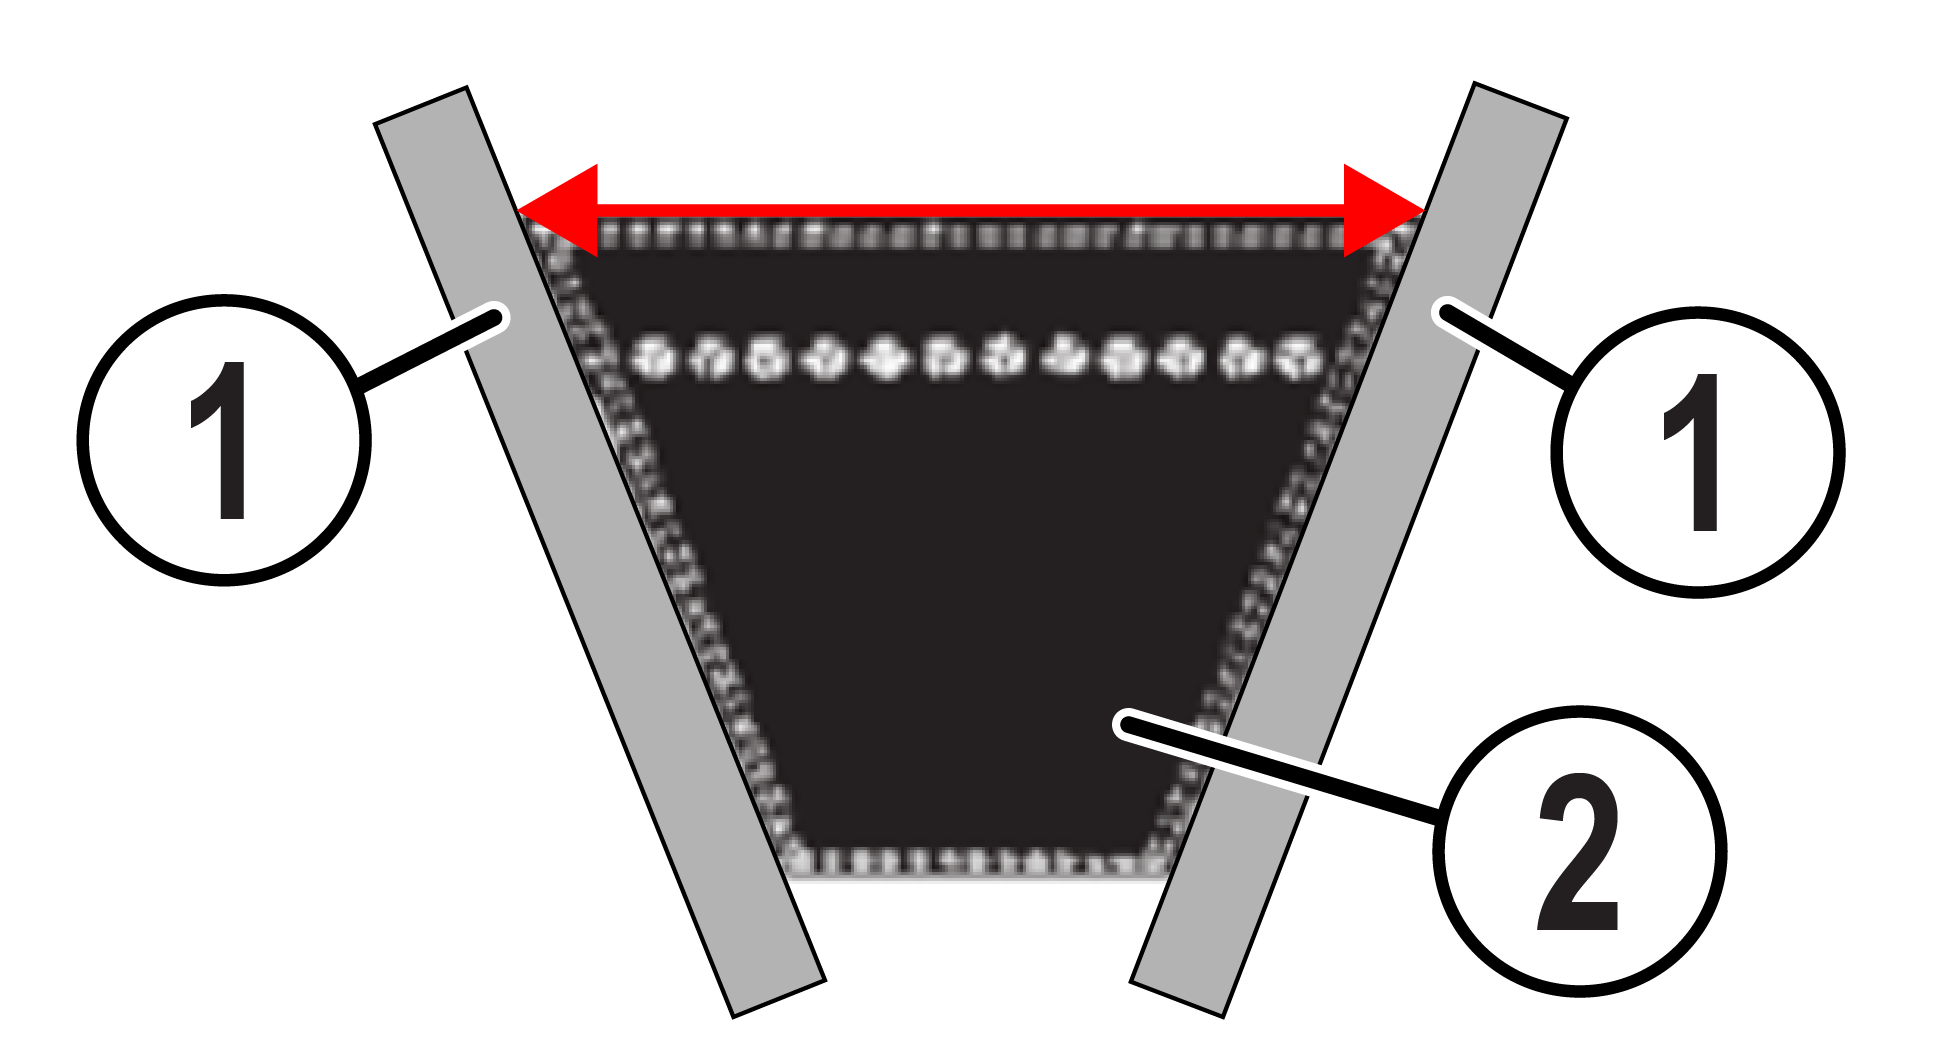
Bottom Width
-
Measure width using the outside jaws of a caliper.
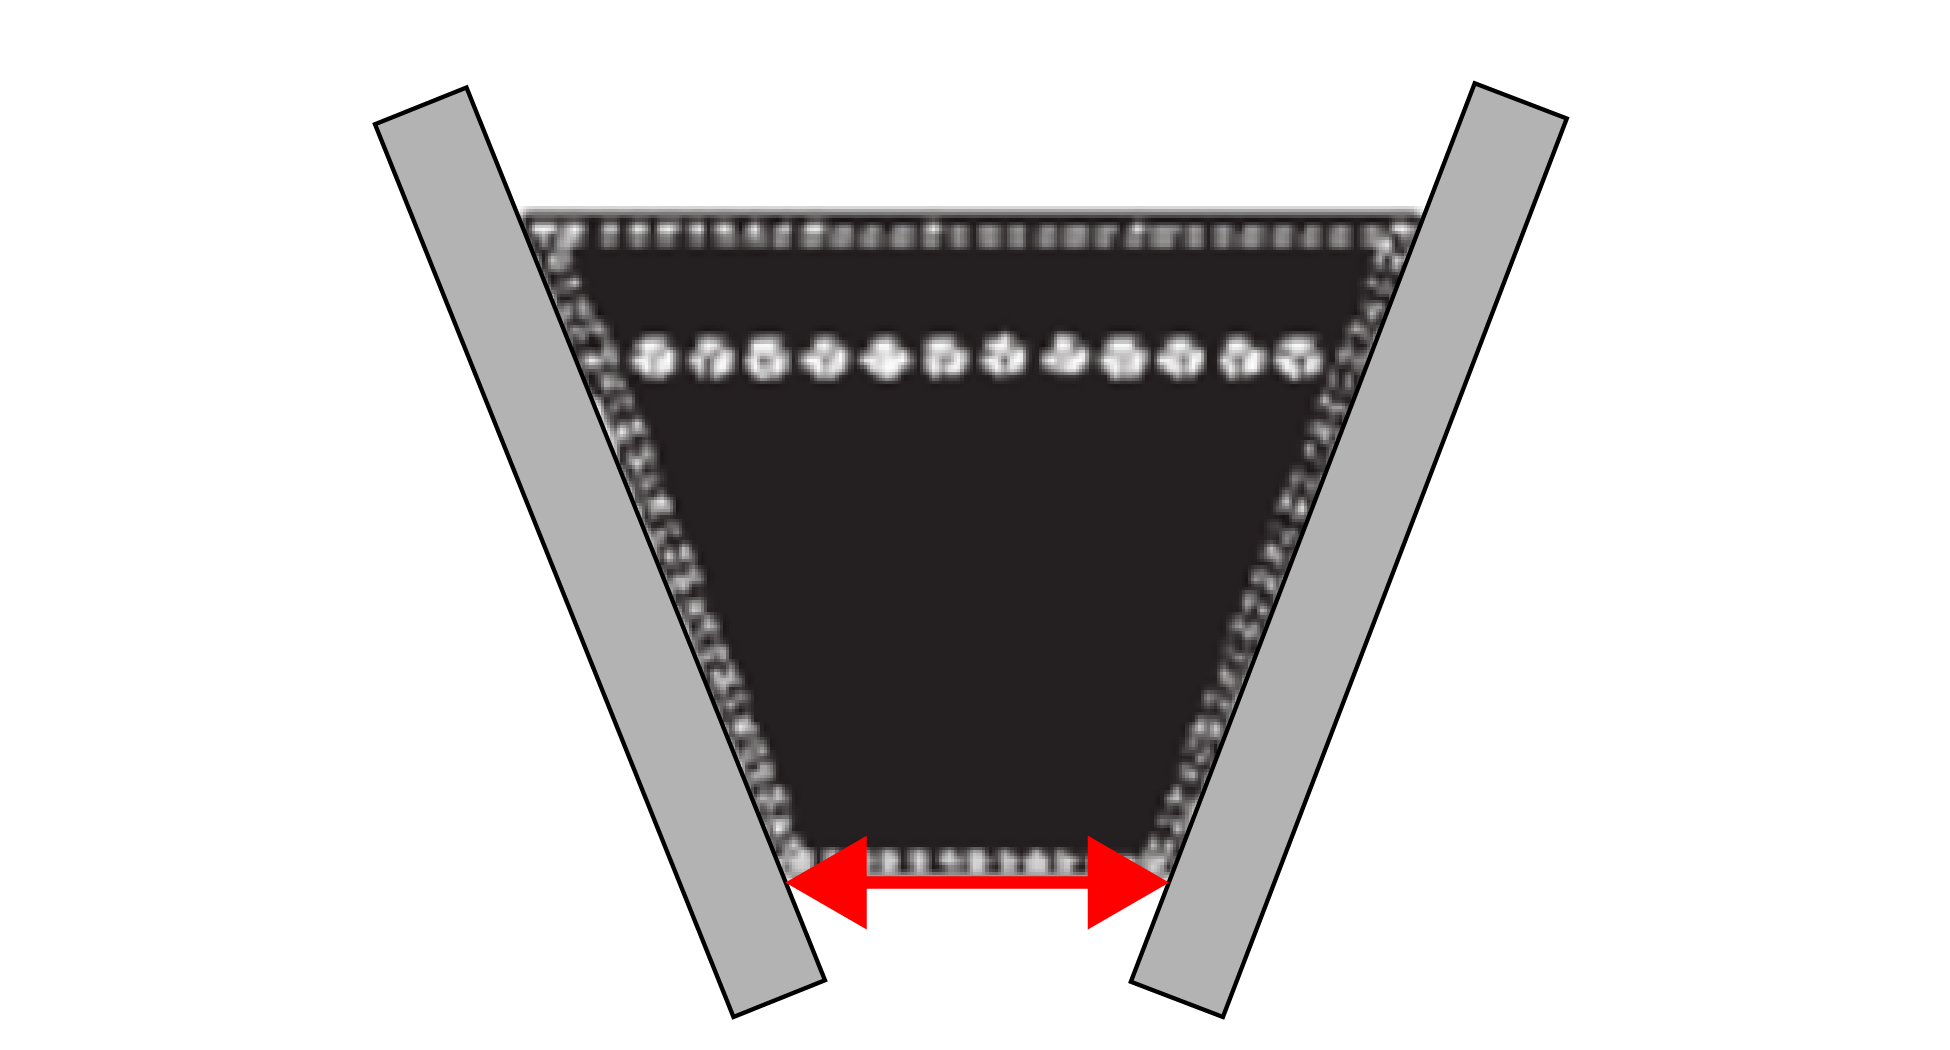
Cord or Pitch Width
-
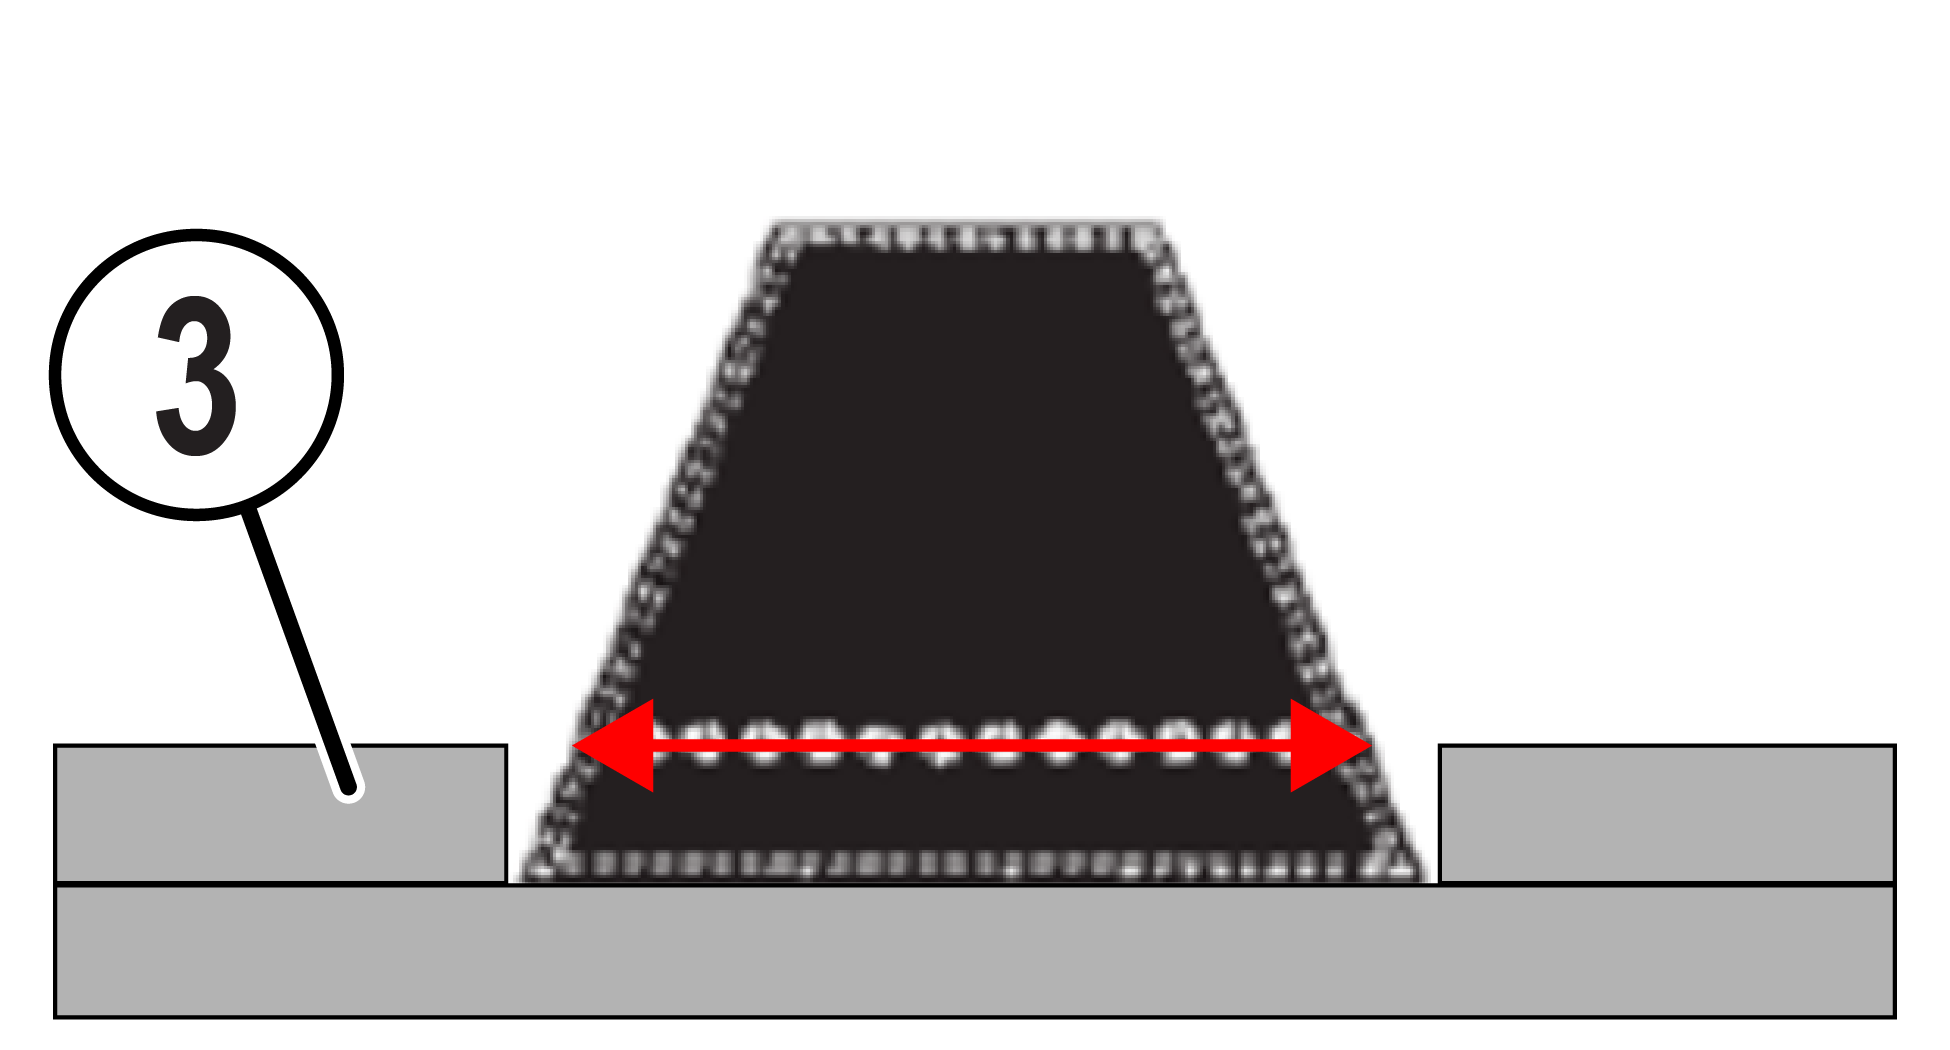
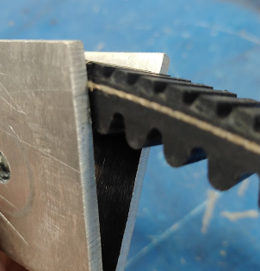
Use a Machined block or groove as shown to align with the cord height 3.
-
Measure width using the inside jaws of a caliper, laying flat and with low pressure.