Toe Alignment Inspection
-
Place machine on a smooth level surface and set steering wheel in a straight ahead position. Secure the steering wheel in this position.
-
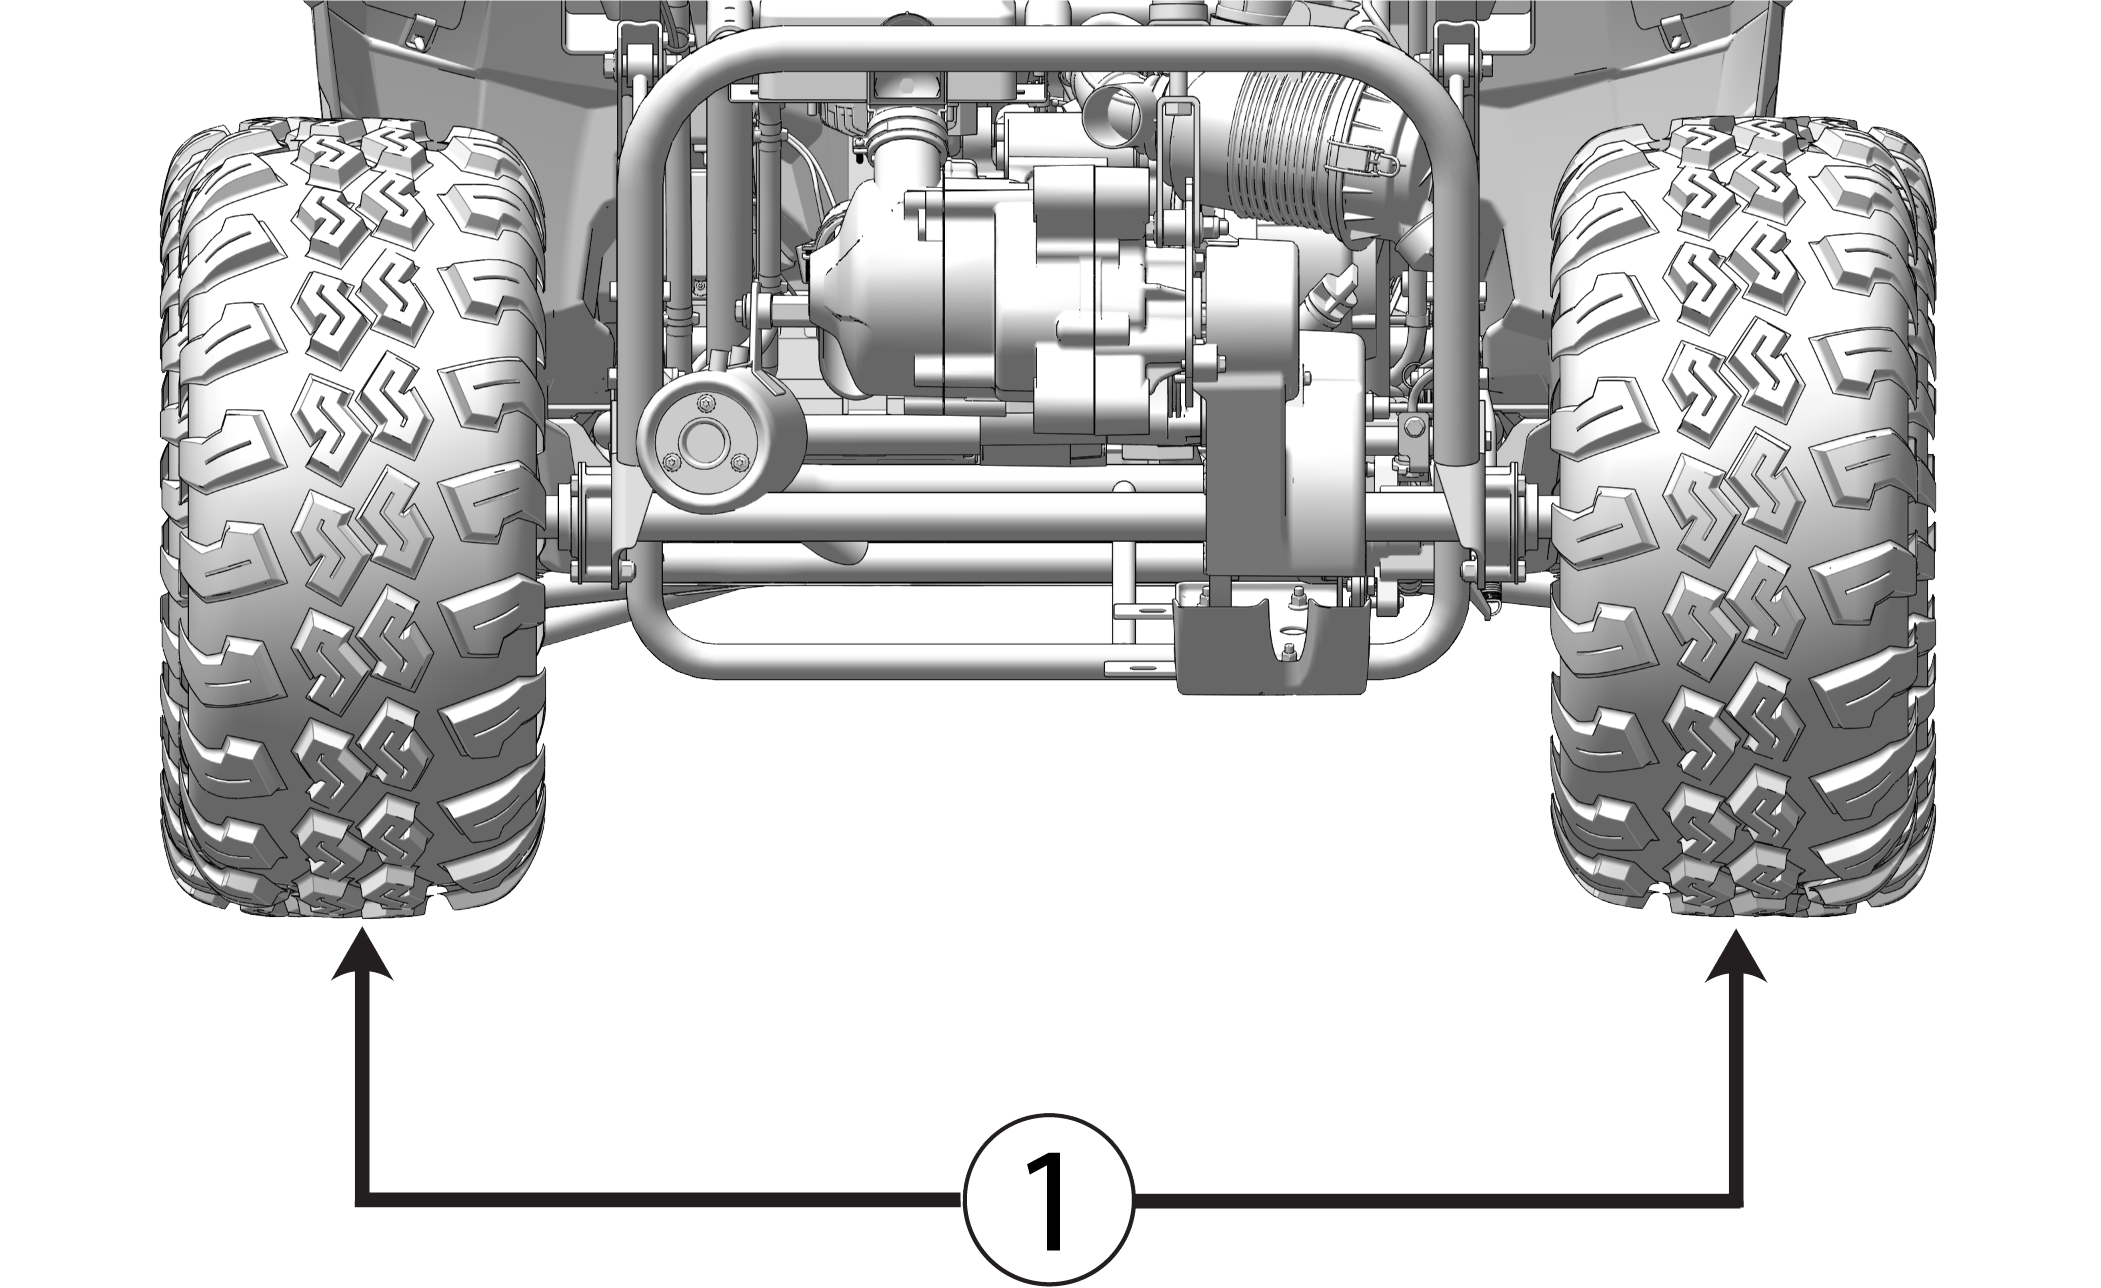
Place a chalk mark on the center line of the front tires approximately 25.4 cm (10″) from the floor or as close to the hub/axle center line as possible 1.
NOTEIt is important the height of both marks be equally positioned to get an accurate measurement.
-
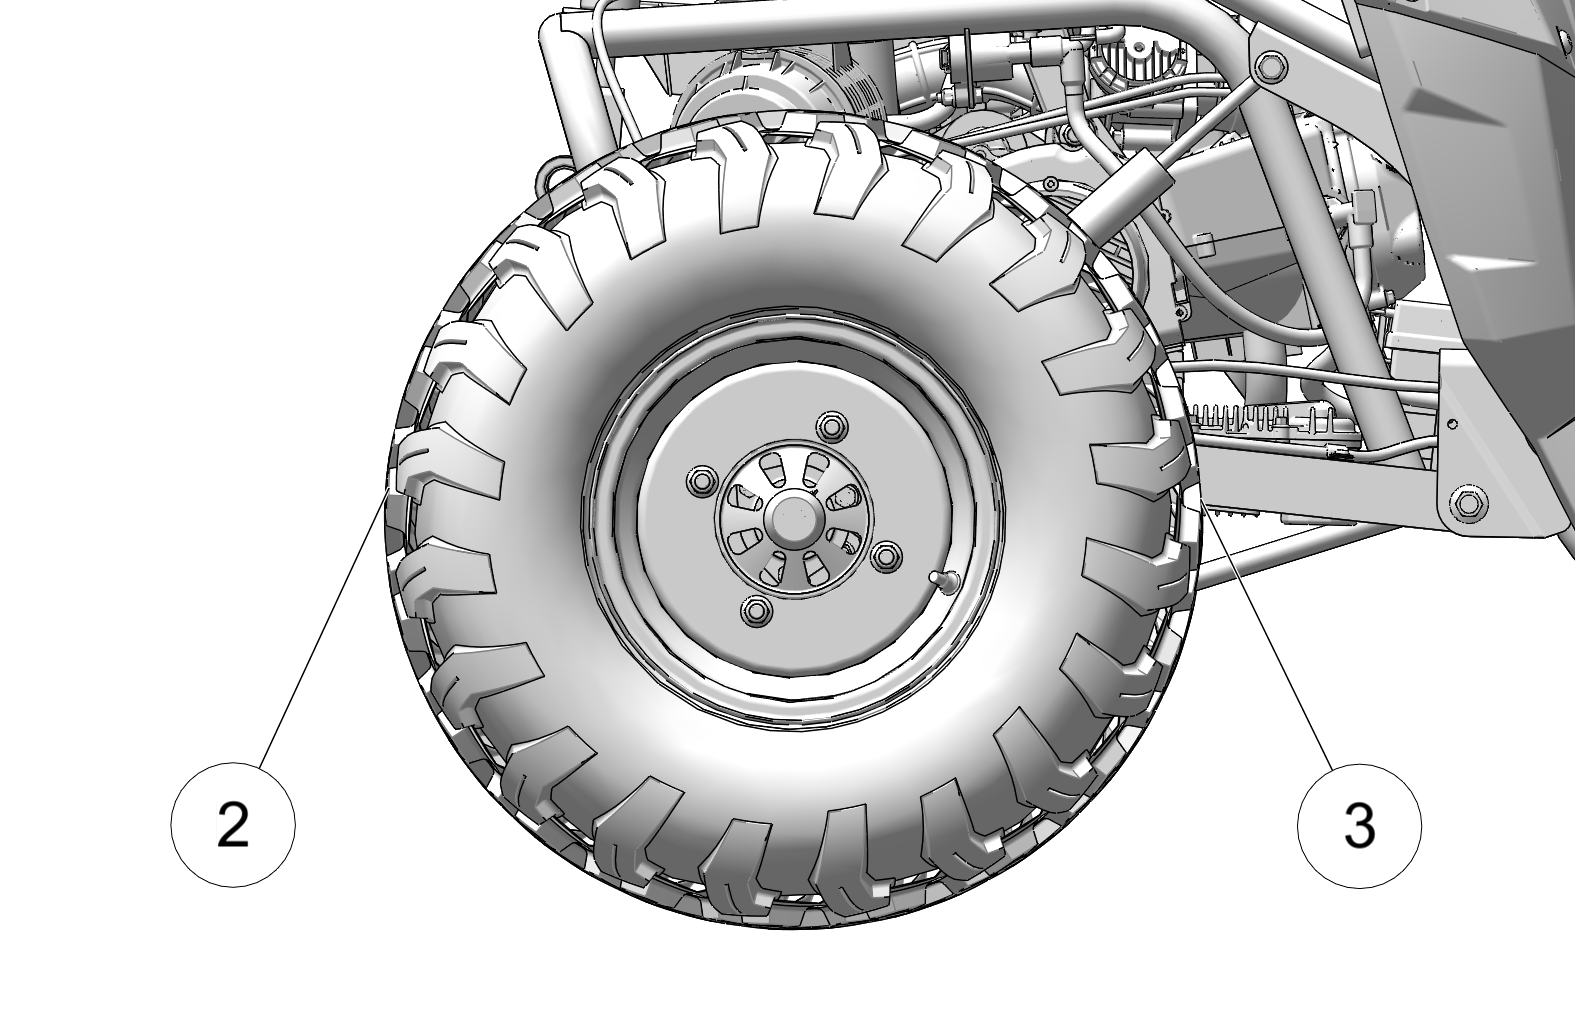
Measure the distance between the marks and record the measurement. Call this measurement “2”.
-
Rotate the tires 180° by moving the vehicle forward. Position chalk marks facing rearward, even with the hub/axle center line.
-
Again measure the distance between the marks and record. Call this measurement “3”. Subtract measurement “3” from measurement “2”. The difference between measurements “2” and “3” is the vehicle toe alignment. The recommended vehicle toe tolerance is 0 to 3.2 mm (0 to 1/8”) toe out. This means the measurement at the front of the tire 3 is 0 to 3.2 mm (0 to 1/8”) wider than the measurement at the rear 2.
Wheel Toe-Out:
0 to 3.2 mm (0 to 1/8”)


If you discover improper alignment, see your authorized dealer for service.