Battery Installation
-
Inspect the battery box and cover for damage. Be sure pads are in good condition and properly located.
-
Make sure cable ends and battery terminals are clean. Apply a light film of dielectric grease to the terminal bolt threads.
-
Make sure the harness is routed tight to battery box.
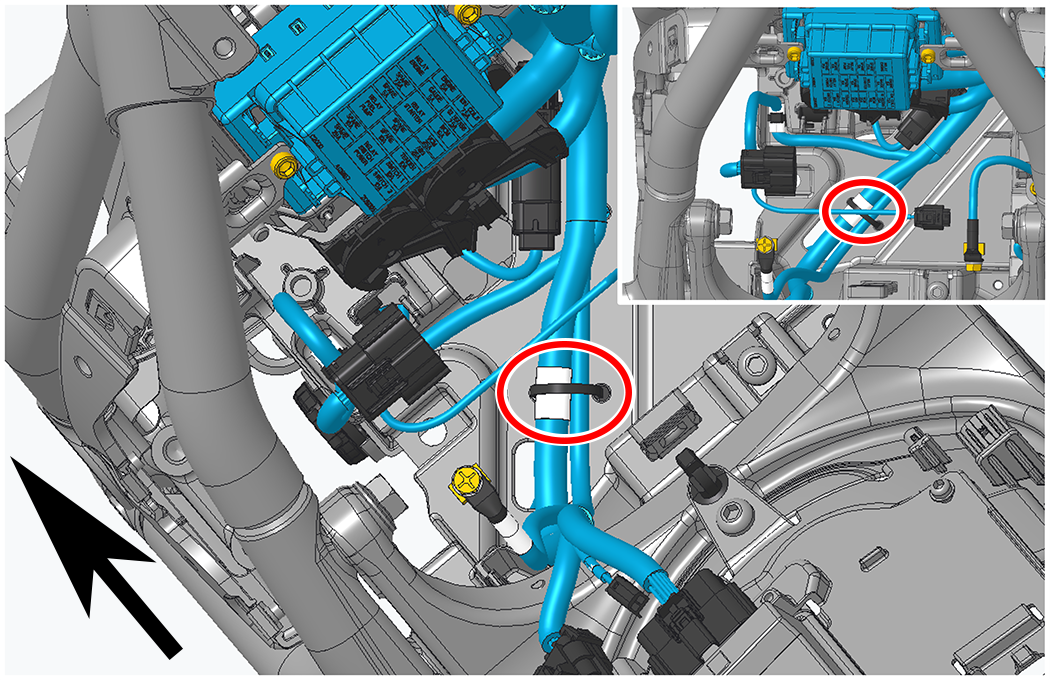
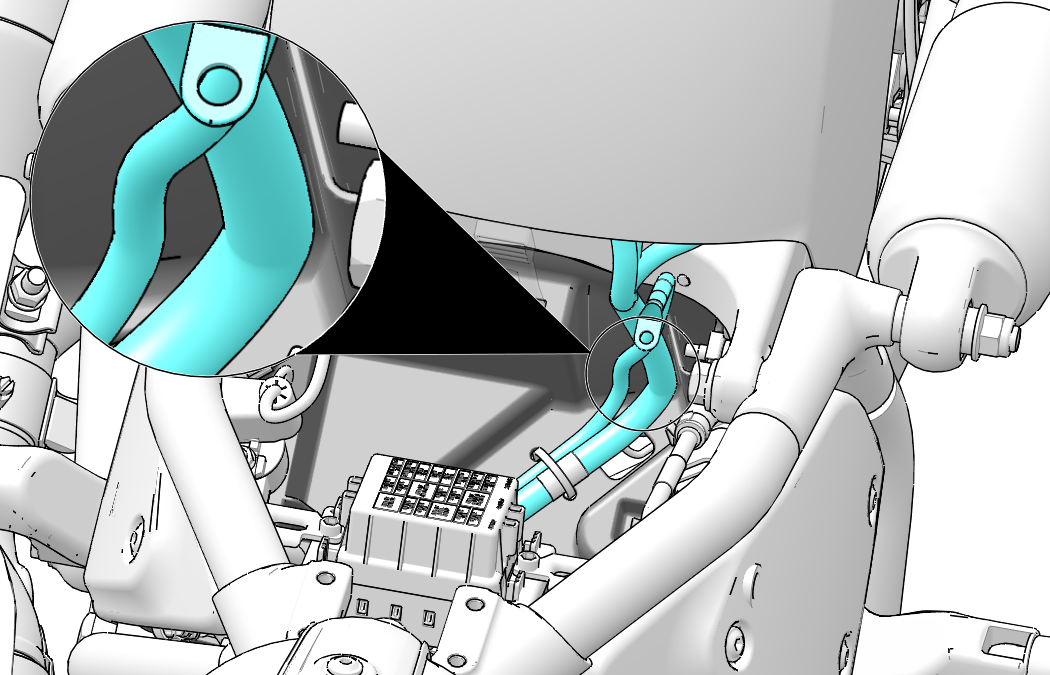 IMPORTANTMake sure the harness / GPS wires are routed and secured with the white tape as shown (arrow indicates the front of the motorcycle).

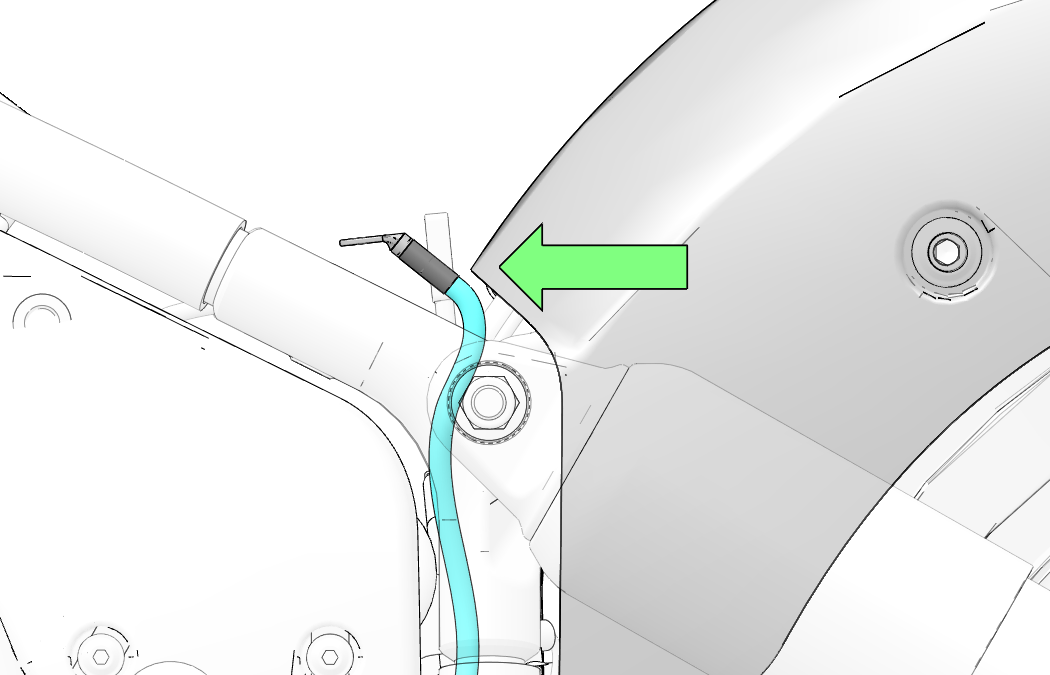
 NOTICEThe negative terminal length should approximately line up with the rear fender as shown. If it is significantly longer, the harness may be routed improperly.
 STOP!DO NOT cut any cable ties or reroute the harness. The harness routing is critical and should not be repositioned. See your Indian dealer for assistance.
-
Carefully position the battery into the battery box with both terminals toward the rear of the bike.
-
Make sure the positive (+) cable 1 is routed horizontally and parallel to the short side of the battery. Connect the positive (+) cable to the positive (+) battery terminal.
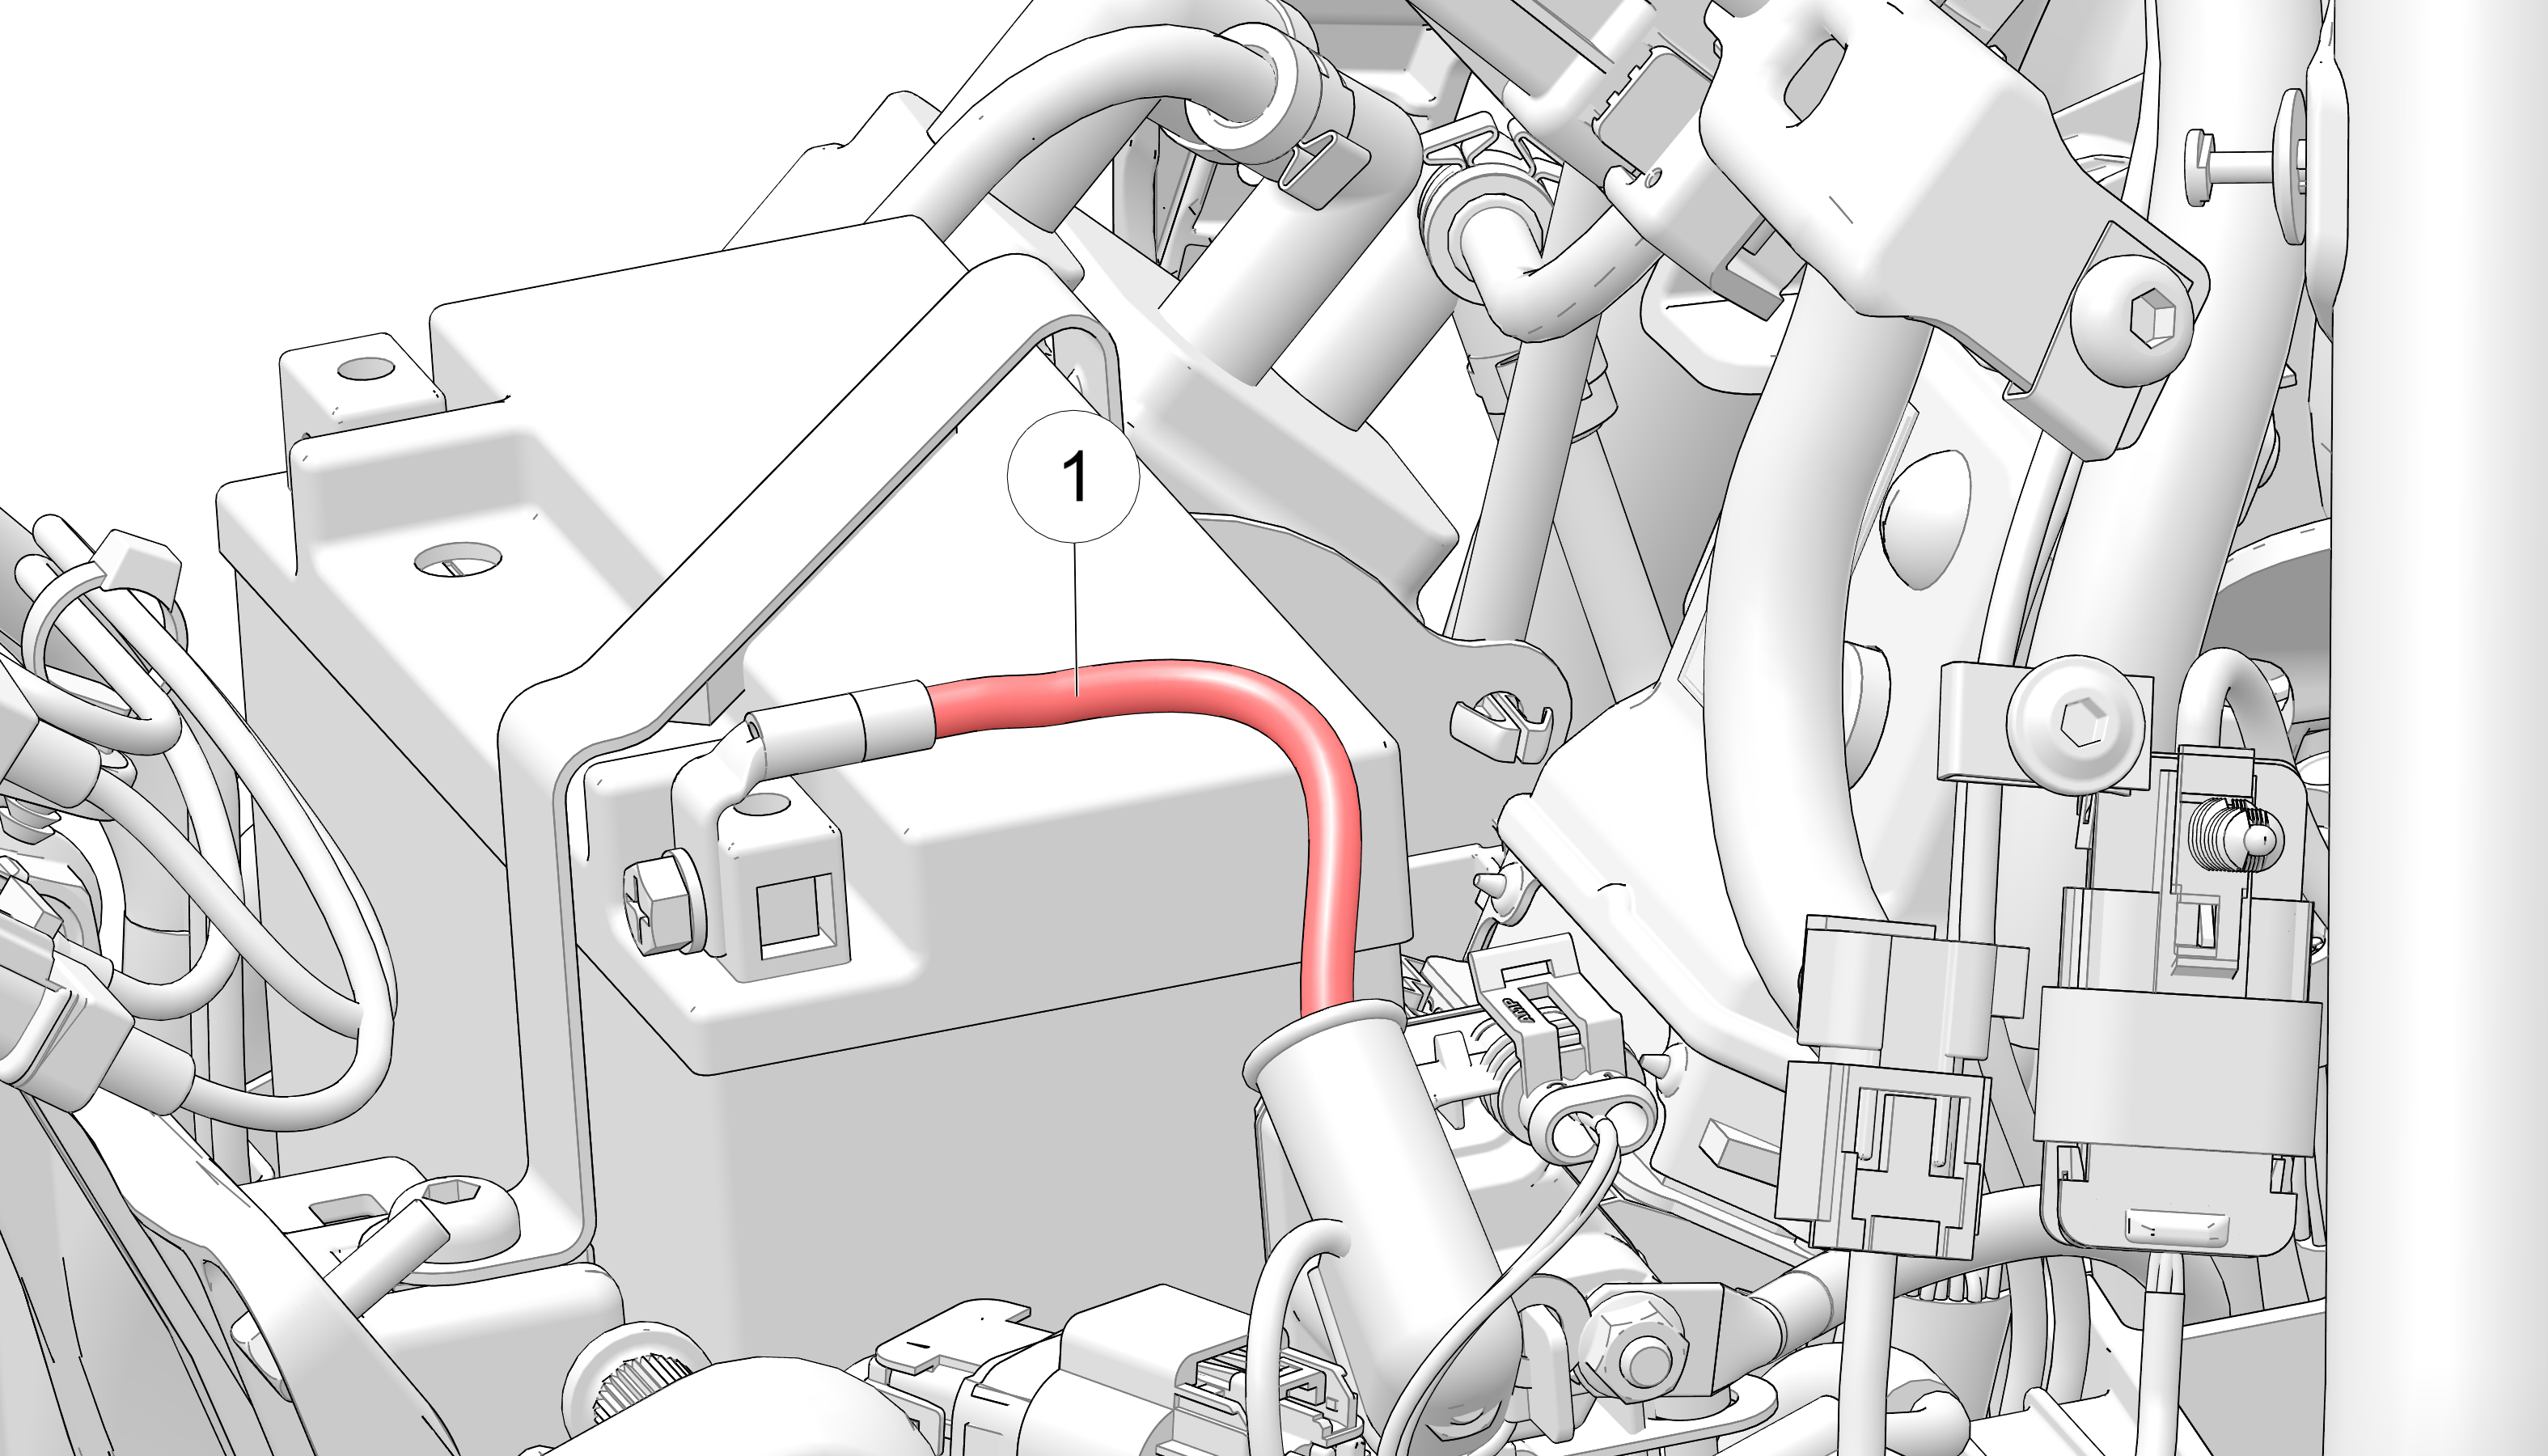 TORQUE48 in-lbs (5.4 Nm)
-
Check the positive (+) cable 1 to ensure it is not pinched or wedged between the frame and battery tray.

-
Insert the battery hold down strap into the battery box retention slot and slide the strap towards the rear of the bike.

-
Install the battery hold down strap fastener 3 through the battery hold down strap 2.
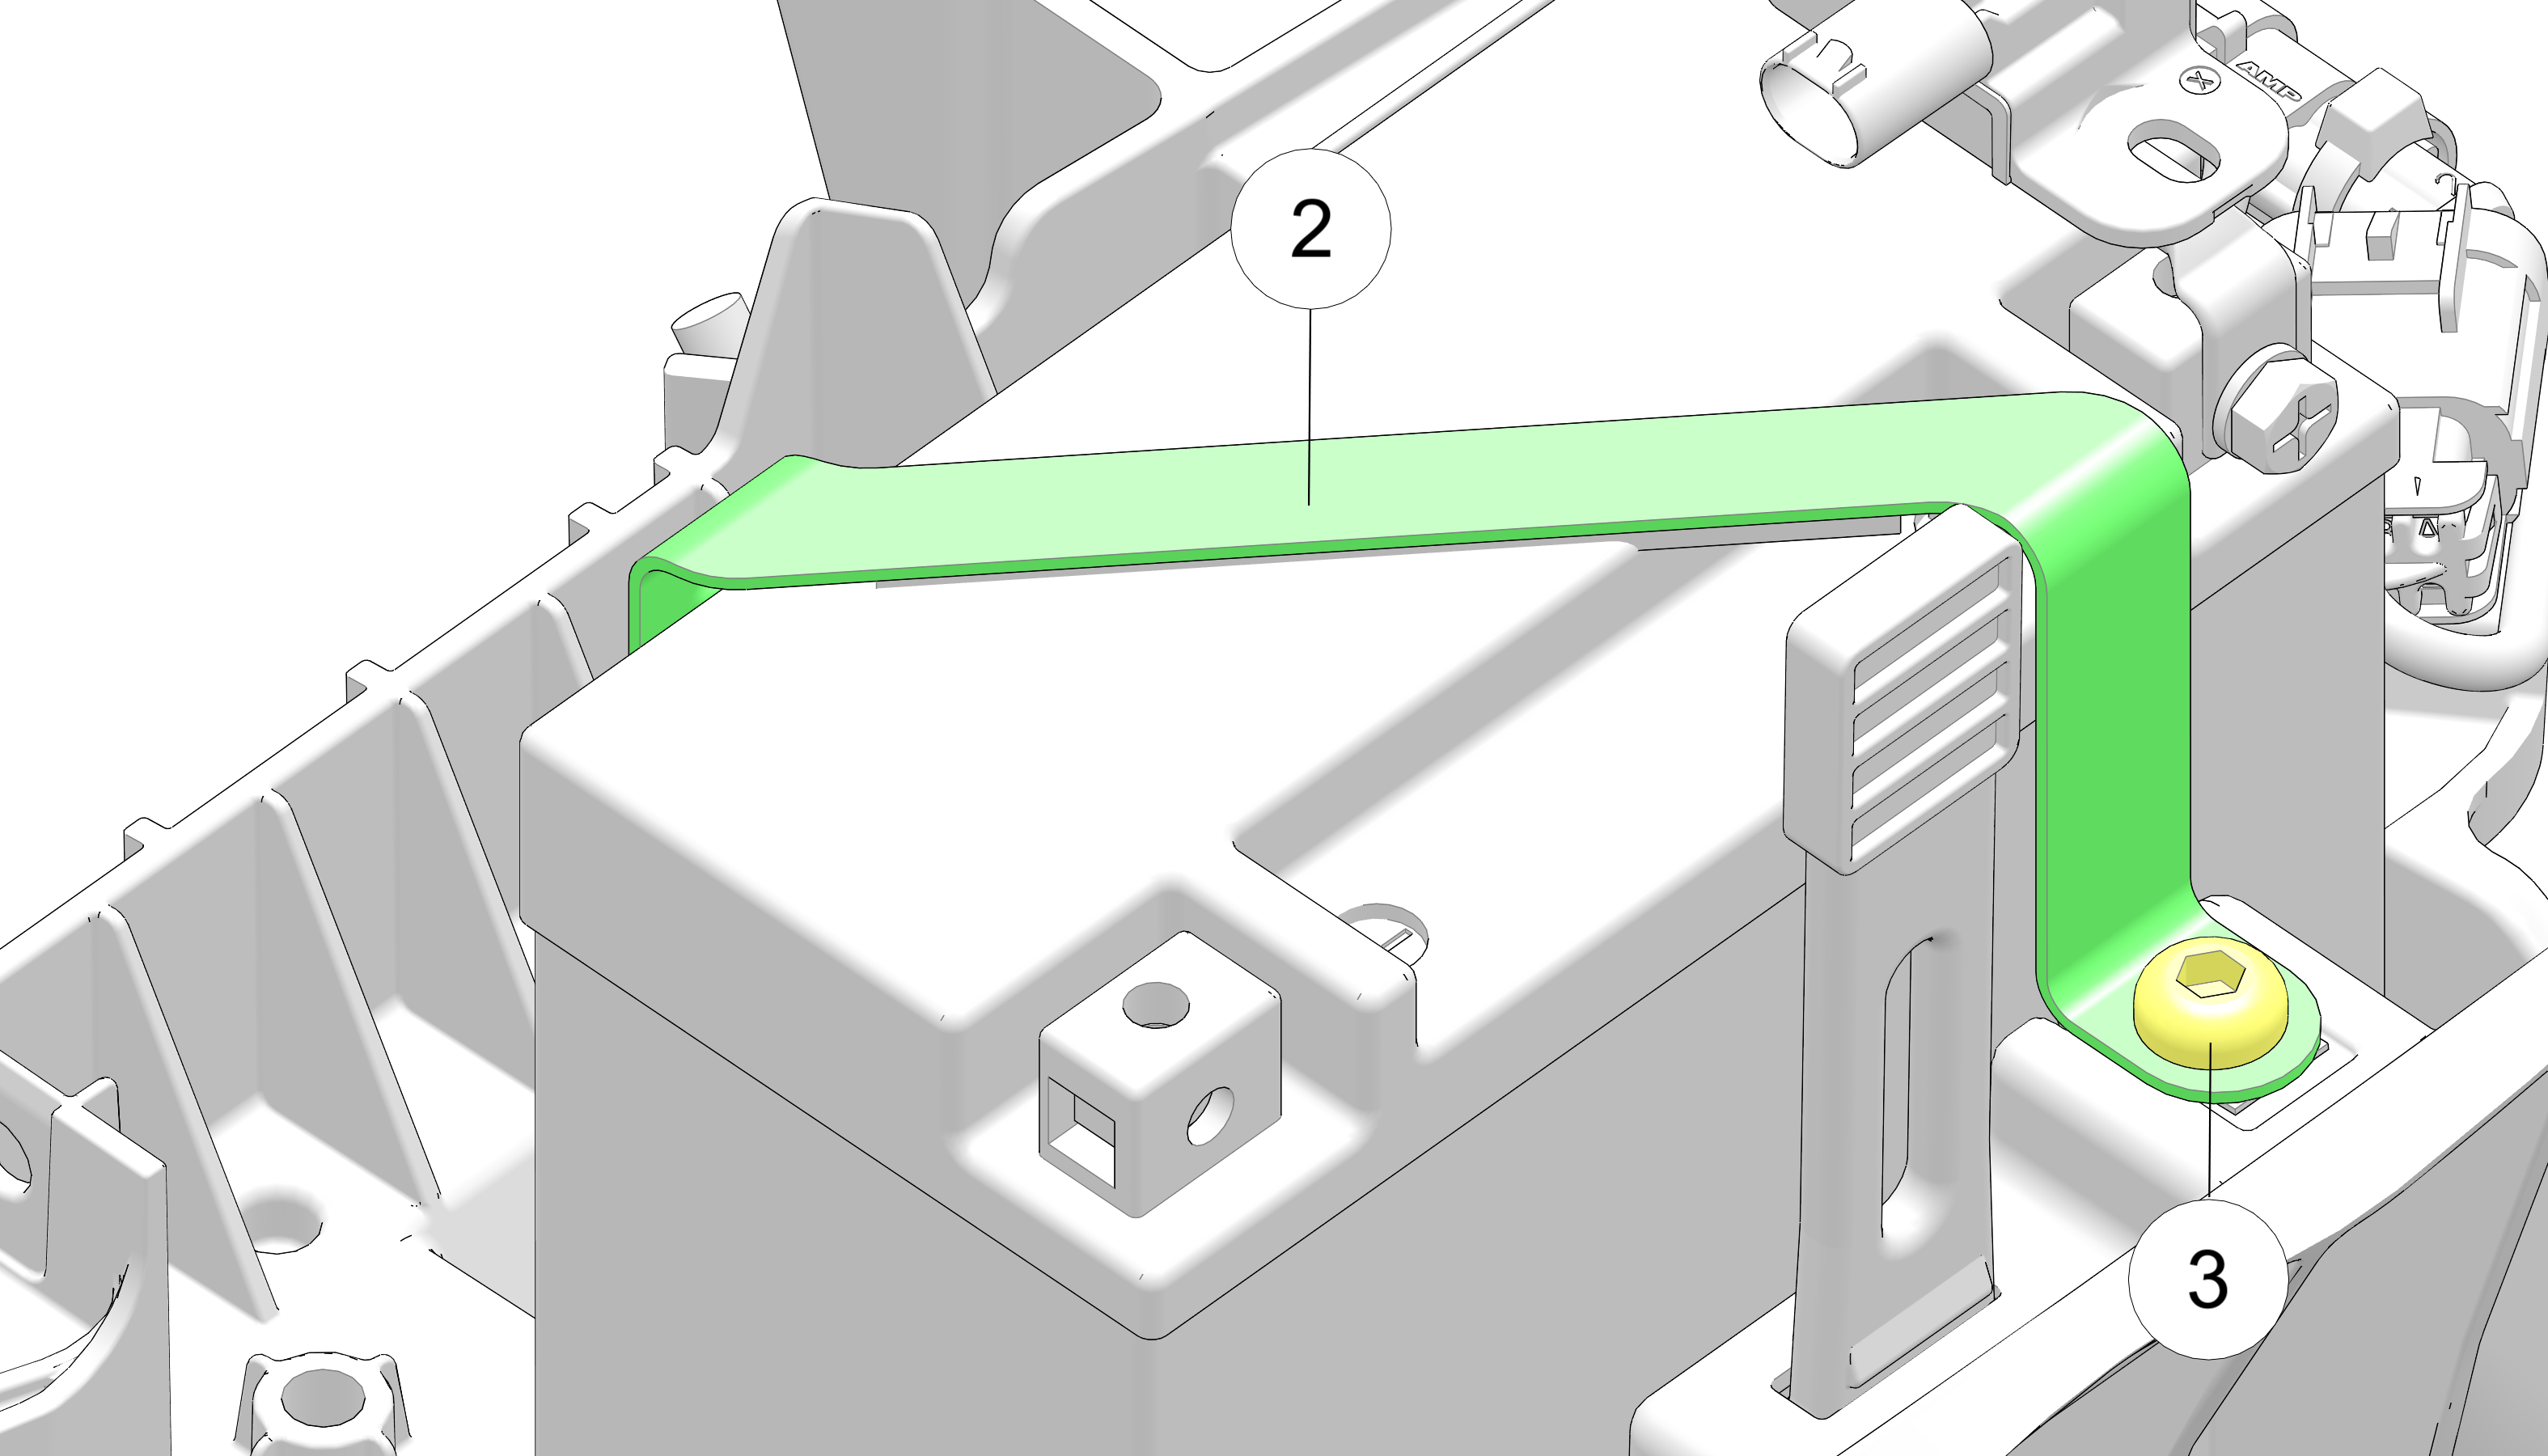 TORQUE84 in-lbs (9.5 N·m)
-
Install the battery cover. Secure the cover with the cover strap 4.

-
Install the negative (-) cable 5. Route the starter ground cable beneath the frame ground cable on the negative battery terminal.
TORQUE48 in-lbs (5.4 Nm)
-
Install the antenna wiring harness onto the upper battery tray. Make sure that the wiring harness is secured in both retention areas.

-
Install the antenna 6 onto the upper battery tray. Connect the antenna harness 7 to the antenna.

-
Install the Wireless Control Module (WCM) 8 onto the upper battery tray. Connect the main harness 9 to the WCM.

-
Reinstall the seat. See Seat Installation.