Fuel Tank Installation
-
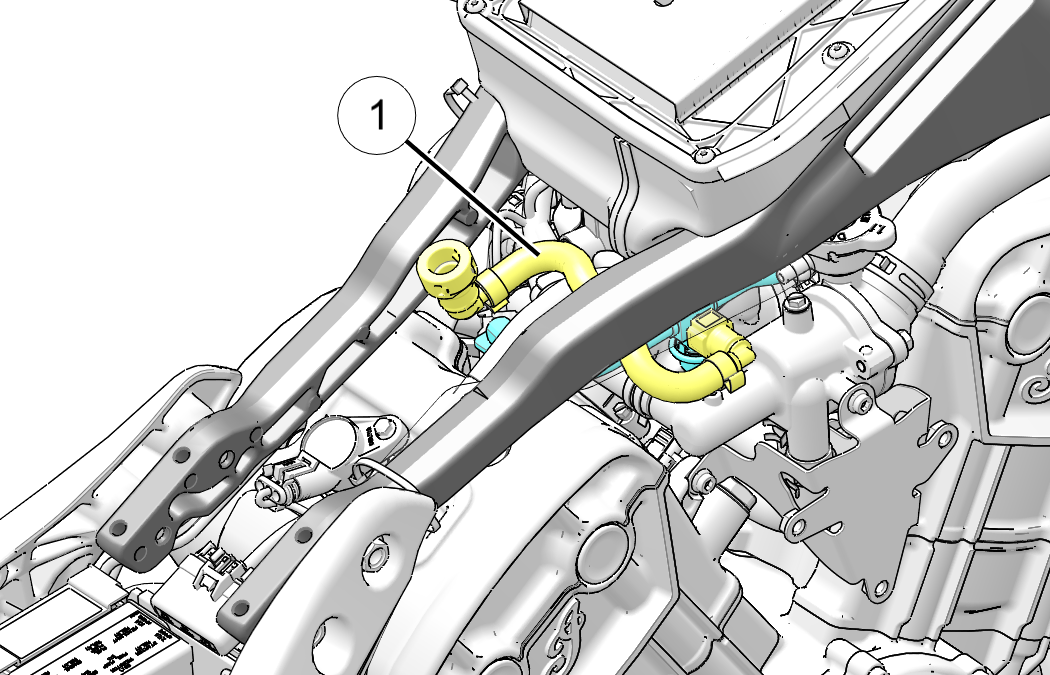
Route the fuel line 1 into position.
NOTICEFuel line routes below right hand subframe and above the coolant hose.

-
Secure the handlebars in the straight ahead position.
-
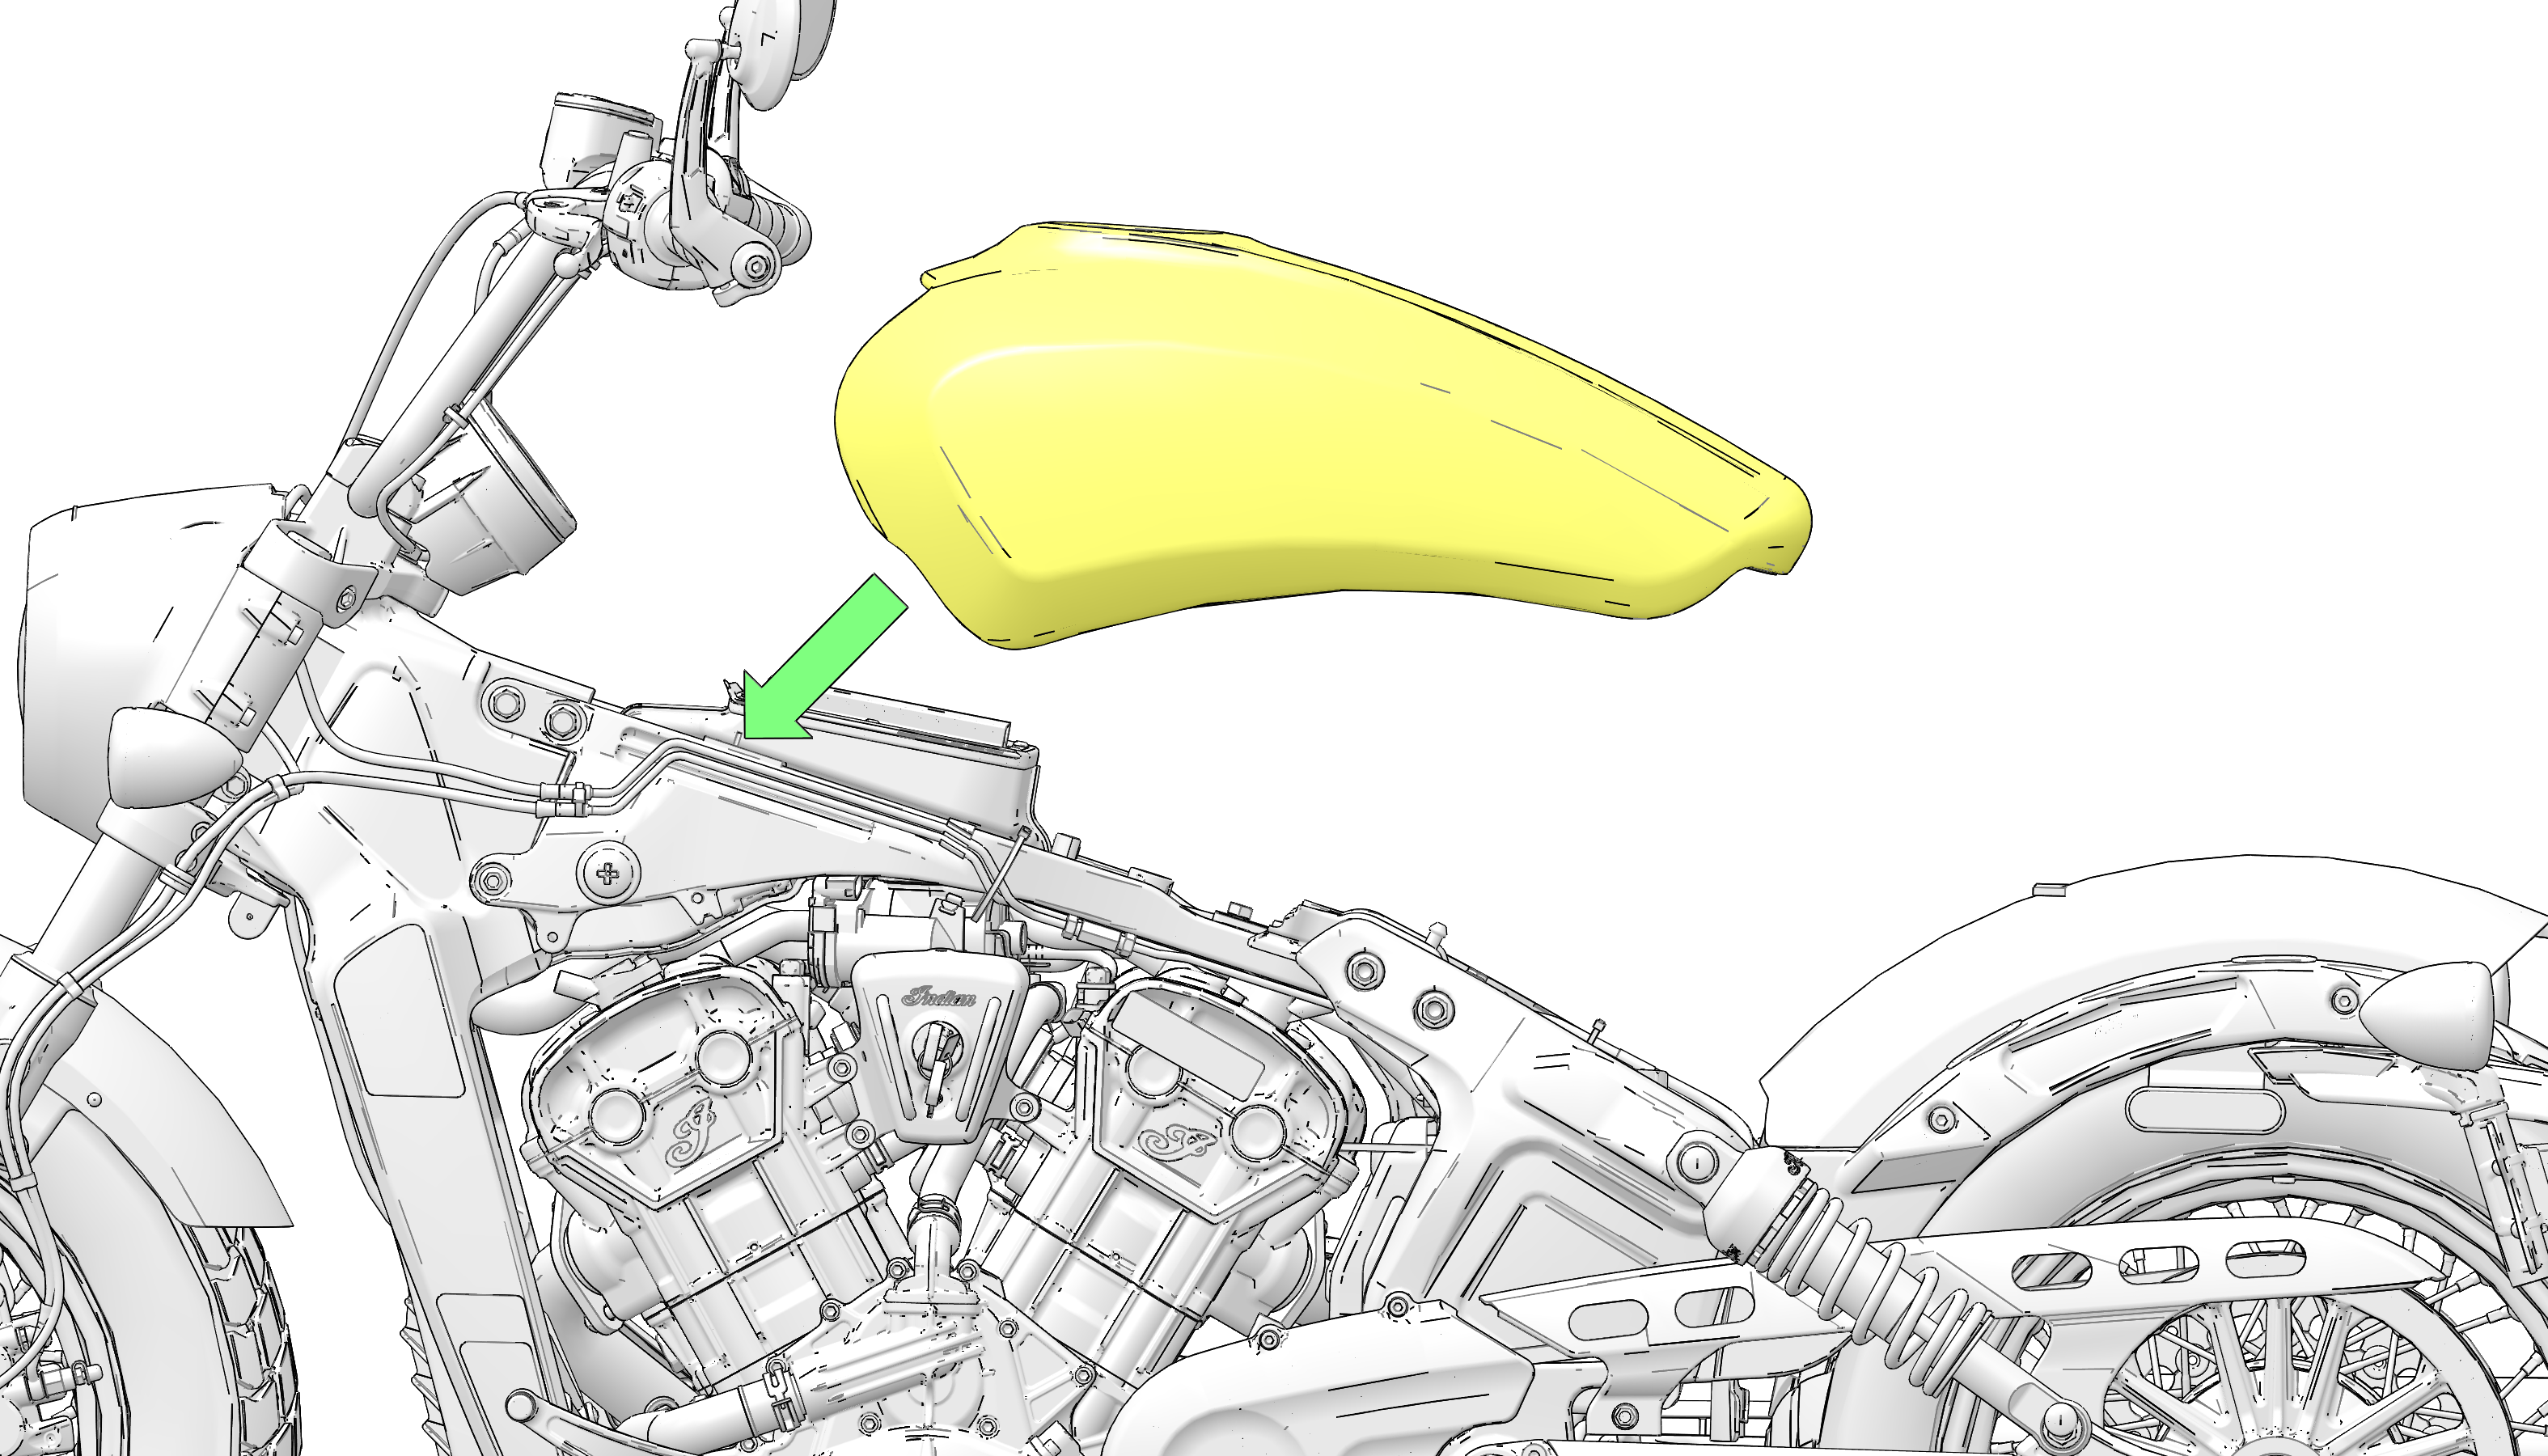
Apply alcohol, soapy water solution, or rubber lubricant to the isolators and carefully lower the fuel tank onto the tank isolators.

-
While supporting rear of fuel tank, connect fuel line to pump.
IMPORTANTVerify fuel line is properly seated and lock in place by listening for an audible “click” when pressing into place. Pull gently on quick connector once seated to ensure a proper connection has been made.
-
Connect fuel pump electrical connector.
-
Reconnect fuel line to fuel rail.
IMPORTANTVerify fuel line is properly seated and lock in place by listening for an audible “click” when pressing into place. Pull gently on quick connector once seated to ensure a proper connection has been made.
-
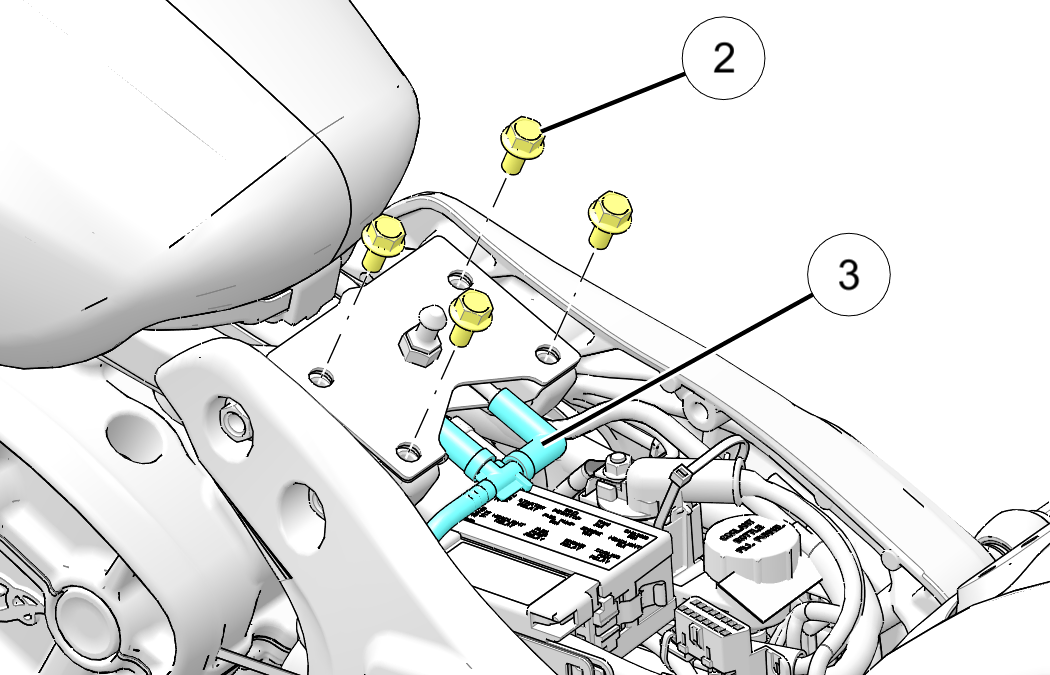
Install fuel tank mounting fasteners 2.
TORQUEFuel Tank Mounting Fasteners:
18 ft-lbs (24 Nm)
NOTICEAdd 0.5 gal of fuel to empty fuel tank. Prime system to ensure fuel pump is correctly installed.
-
Connect the fuel tank vent line and the fuel cap recess drain line 3.
-
Install the fuel tank filler pad.
-
Prime the fuel system by turning the run/stop switch on and then off. Once the system is pressurized, carefully check all fuel connections, joints, and lines for leaks.
-
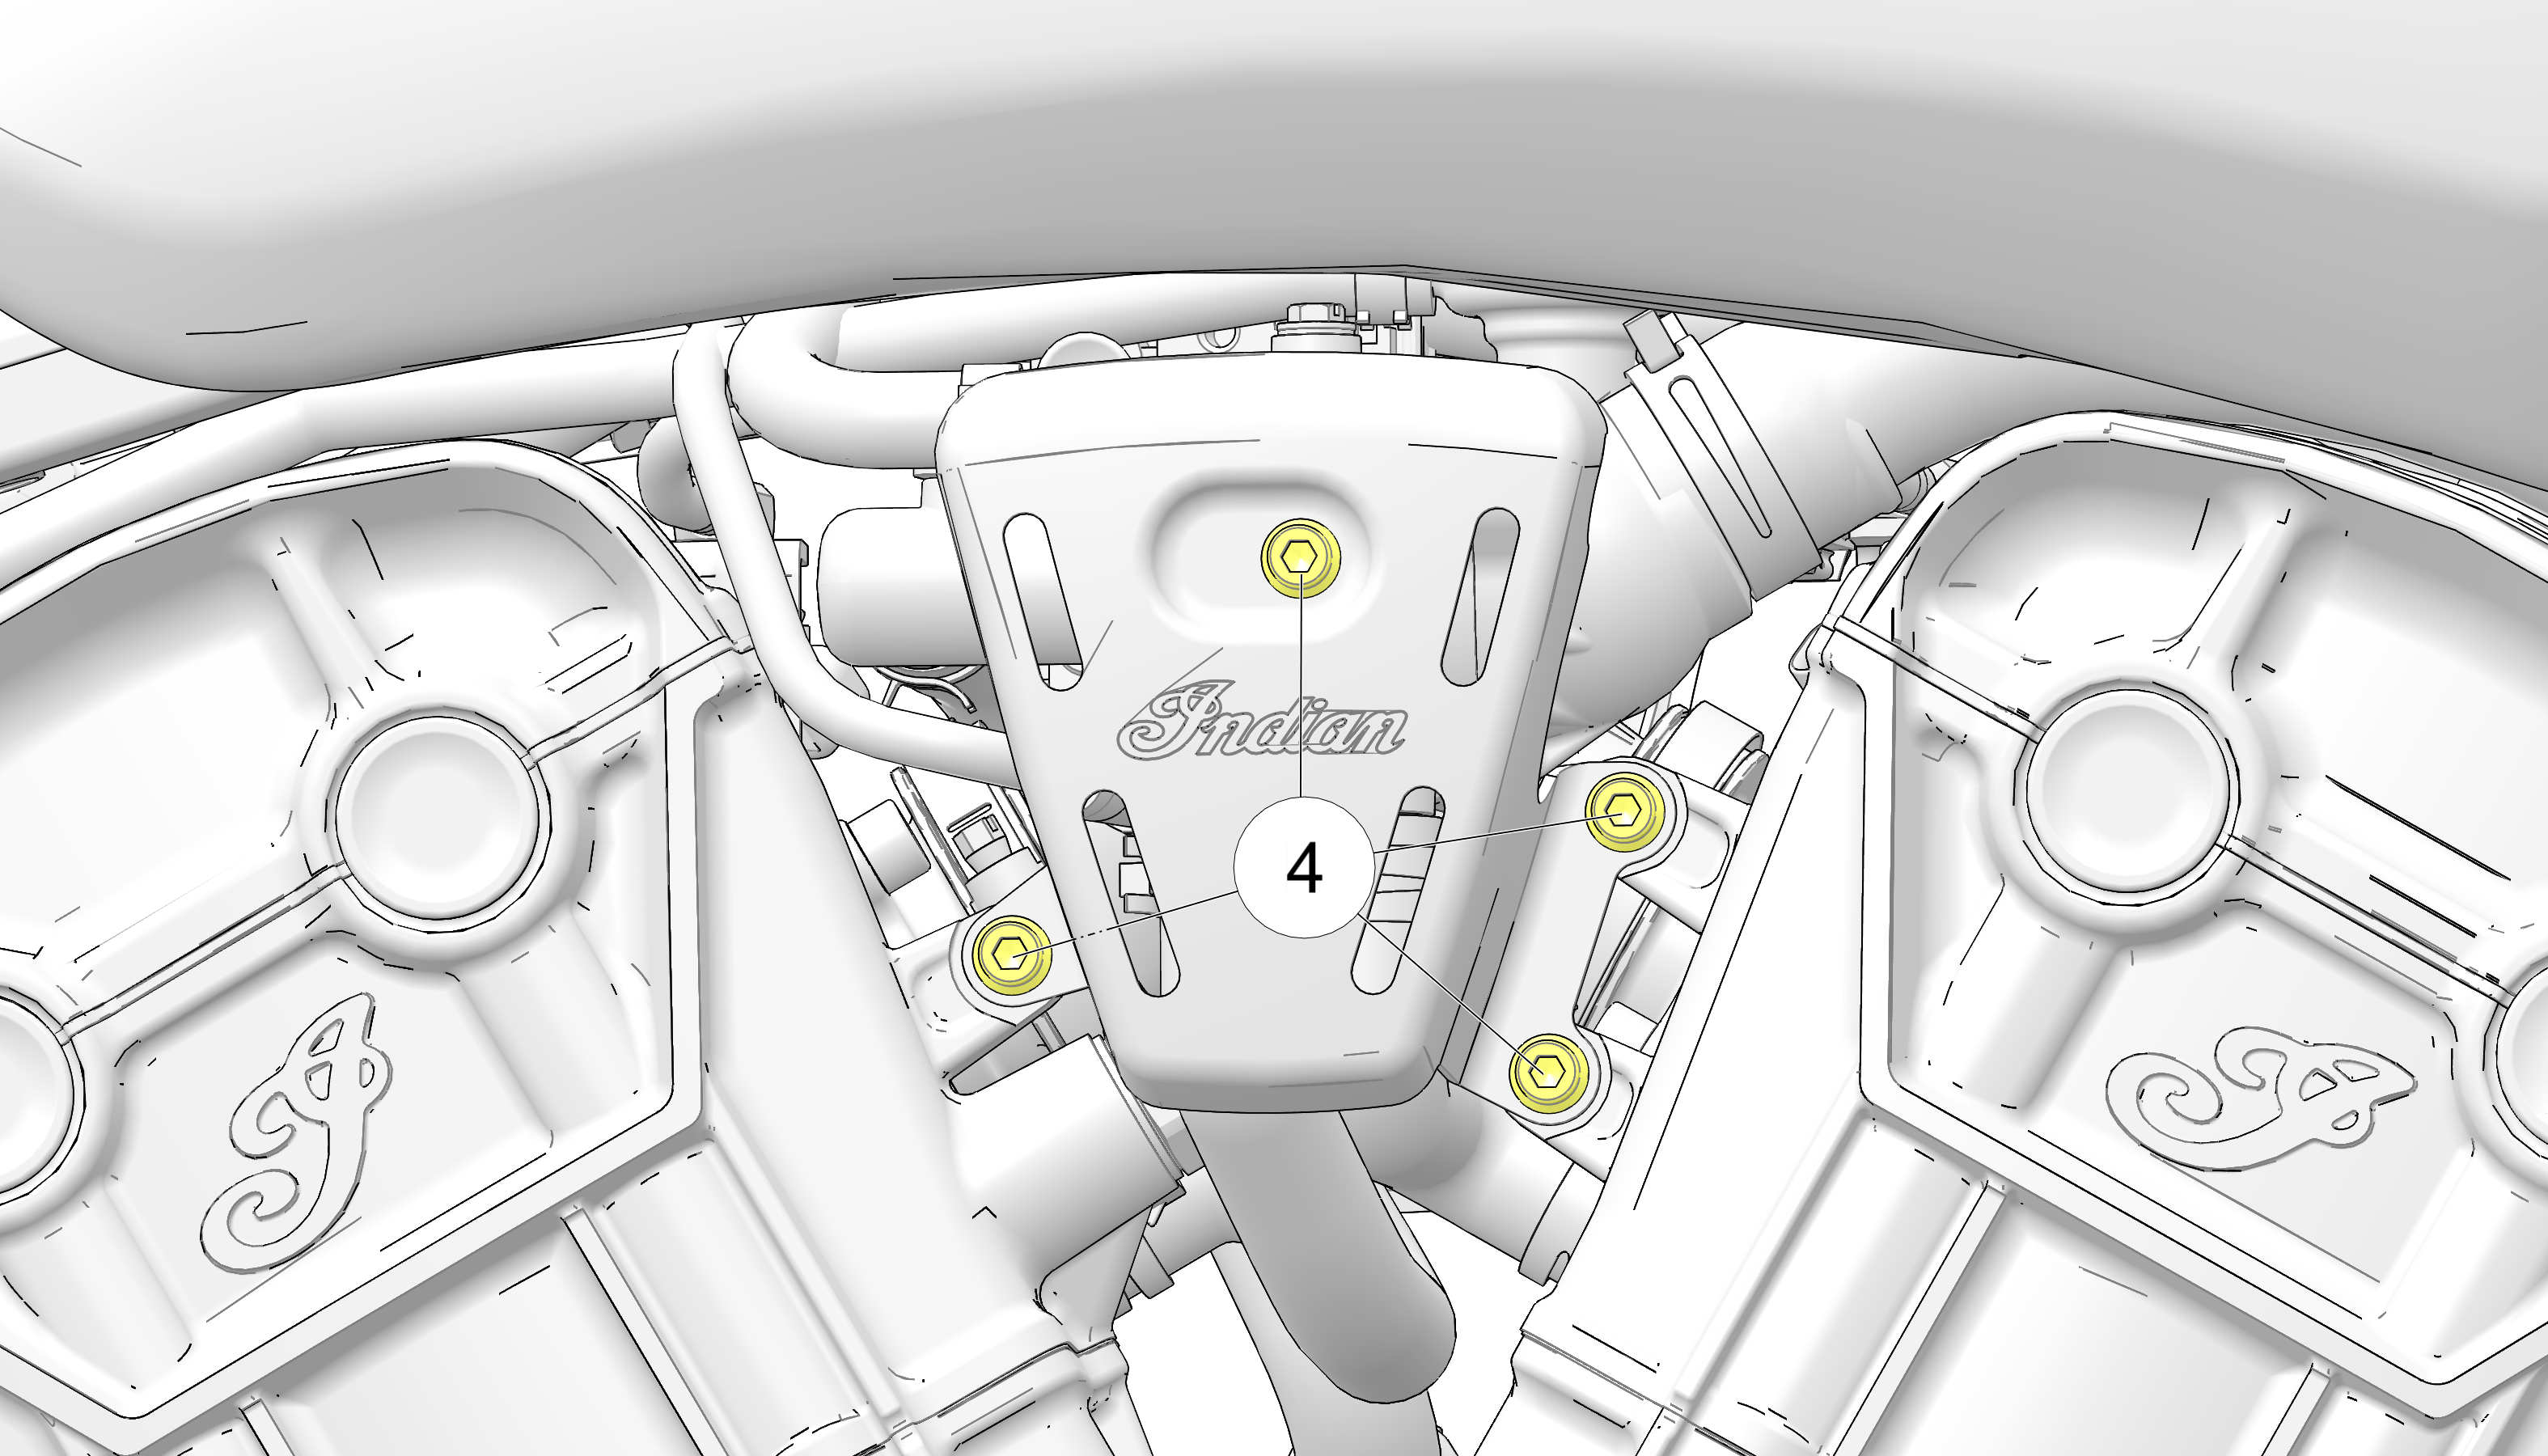
Install thermostat cover and secure fasteners 4.
TORQUEThermostat Cover Fasteners:
96 in-lbs (11 Nm)

-
Install the seat.