Drive Belt Installation
Always clean the drive belt using a mixture of warm, soapy water. Allow to air dry. When installing the belt, verify POLARIS or the part number can be read from the outside of the snowmobile.
-
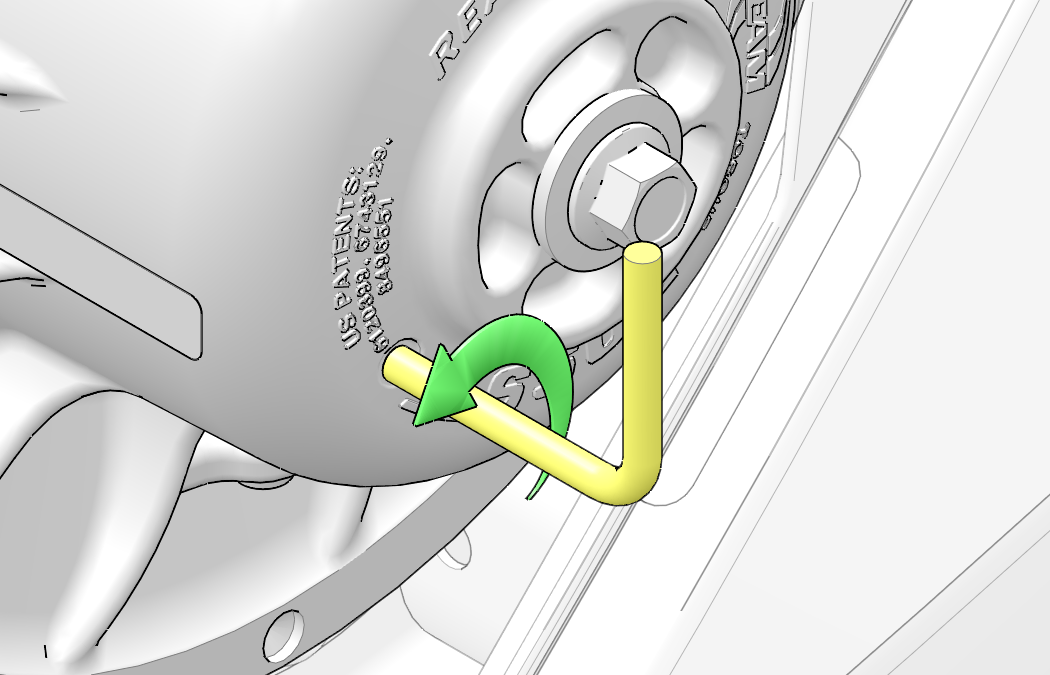
Verify the driven clutch sheaves are open. If they are not, install the L-wrench and open the sheaves.
-
Drop the drive belt over the drive clutch and pull back the slack.
-
Hold the belt down between the sheaves and roll the bottom portion over the outer clutch sheave. Work the belt to the outer edge of the sheave.
-
Turn the L-wrench counterclockwise to tighten the sheaves. Work the belt around the clutches as you remove the L-wrench. Doing so will set the belt in “low gear.” The belt cord line should be flush with, or slightly above, the outer circumference of the driven clutch sheaves when finished.

-
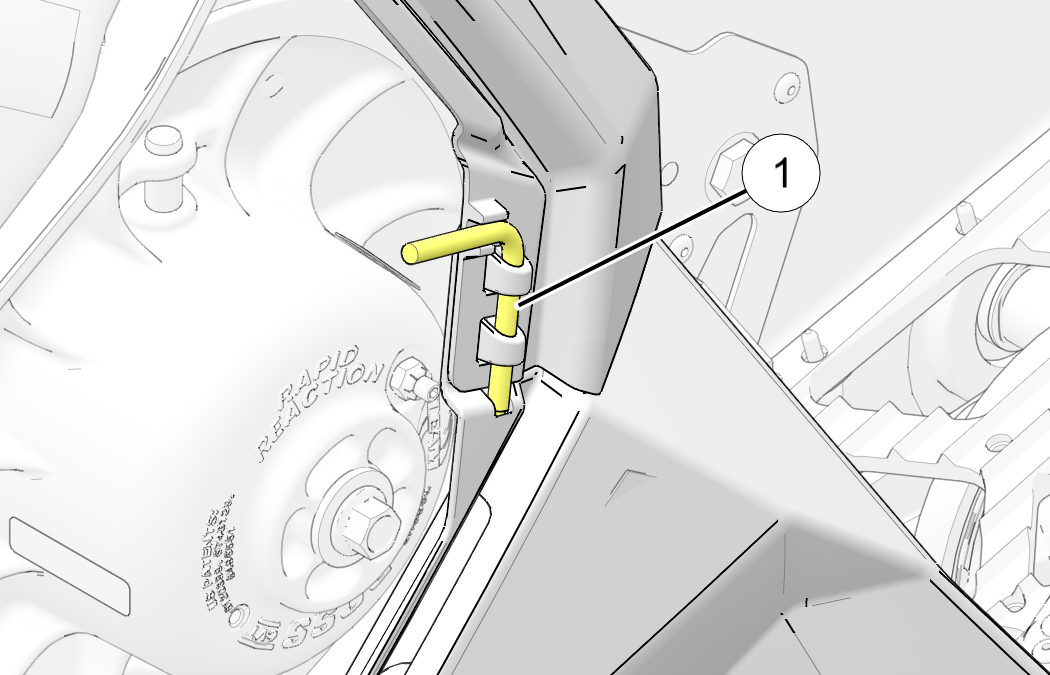
Reinstall the wrench 1 to the wrench bracket to secure the fender to the console.

-
Install the spare belt holder.
-
Reinstall the side panel.
-
When installing a new belt, follow the belt break-in procedures.