Battery Installation
Using a new battery that has not been fully charged can damage the battery and result in a shorter life. It can also hinder vehicle performance. Follow the battery charging procedure in Chapter 10 “Electrical” before installing the battery.
To reduce the chance of sparks: Whenever removing the battery, disconnect the black (negative) cable first. When reinstalling the battery, install the black (negative) cable last.
Batteries on SP models are mounted outside the frame in a similar location. All removal and installation steps are the same.
-
Clean battery cables and terminals with a stiff wire brush. Corrosion can be removed using a solution of one cup water and one tablespoon baking soda. Rinse well with clean water and dry thoroughly.
-
Place the Battery in the tray.
-
Coat terminals and bolt threads with dielectric grease or petroleum jelly.
-
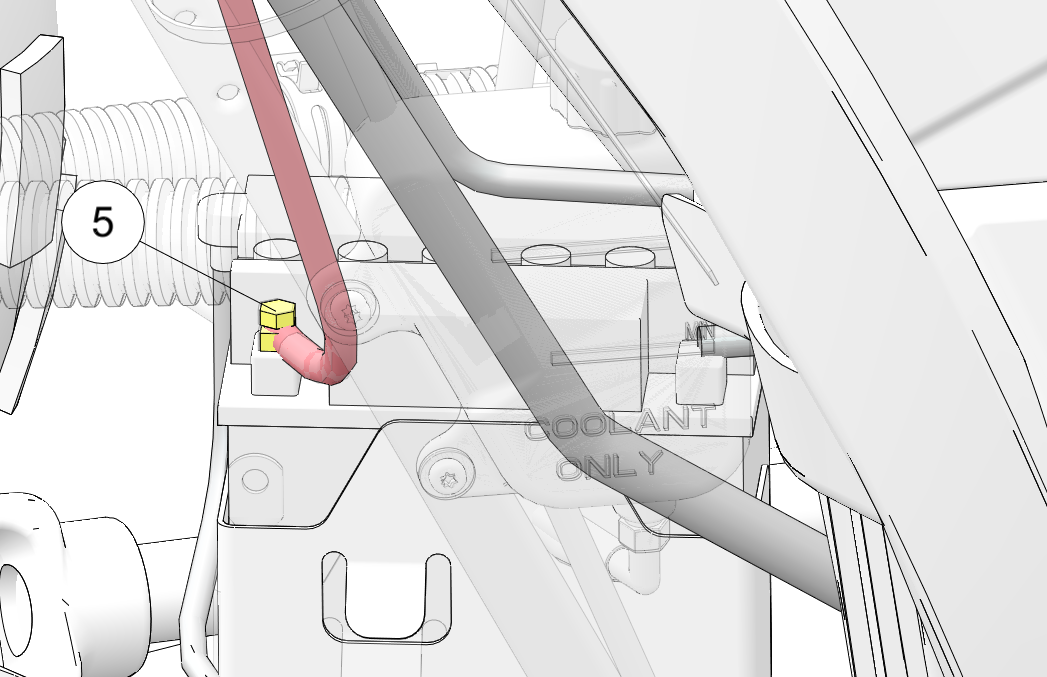
Connect and tighten the red (positive) cable 5. Torque to specification.
TORQUEBattery Terminals :
5 ft-lbs (7 N·m)


-
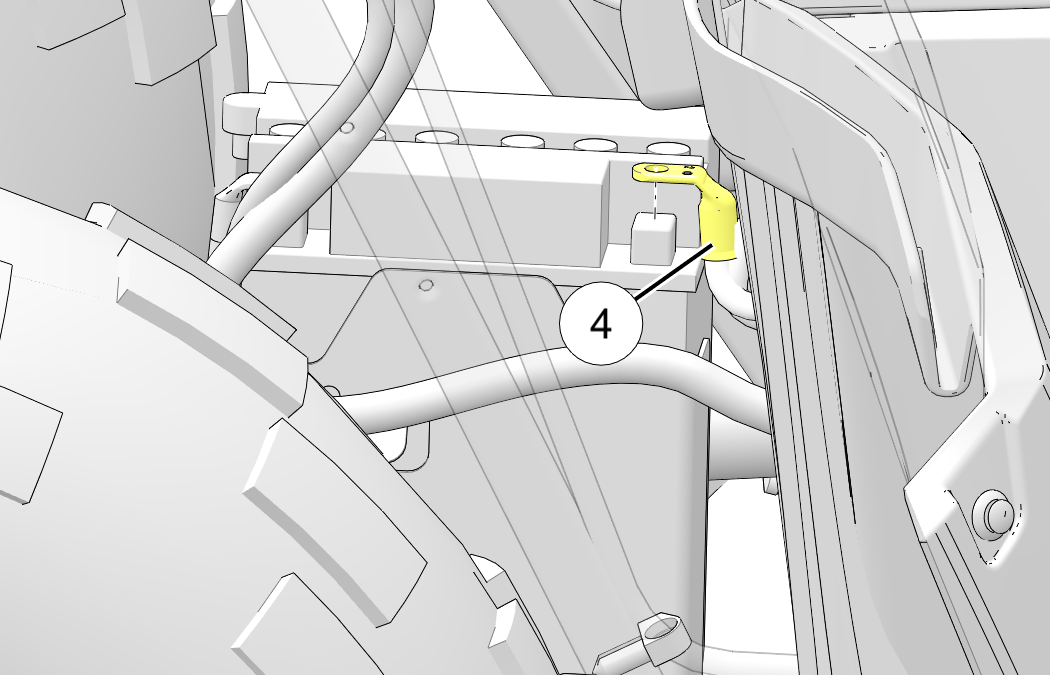
Connect and tighten the black (negative) cable 4. Torque to specification.
TORQUEBattery Terminals :
5 ft-lbs (7 N·m)
-
Install clear battery vent tube from vehicle to battery vent. (Applies to Conventional Batteries Only).
WARNINGVent tube must be free from obstructions and kinks and securely installed. If not, battery gases could accumulate and cause an explosion. The vent tube should be routed away from frame and body to prevent contact with Route the cables correctly.
-
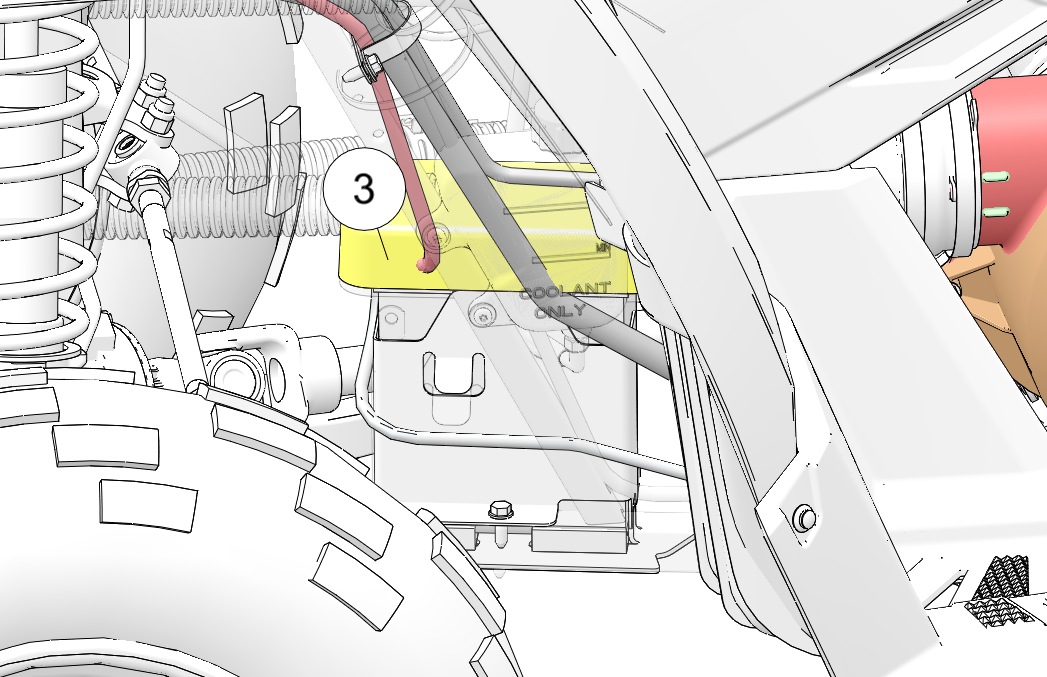
Install the battery cover 3.


-
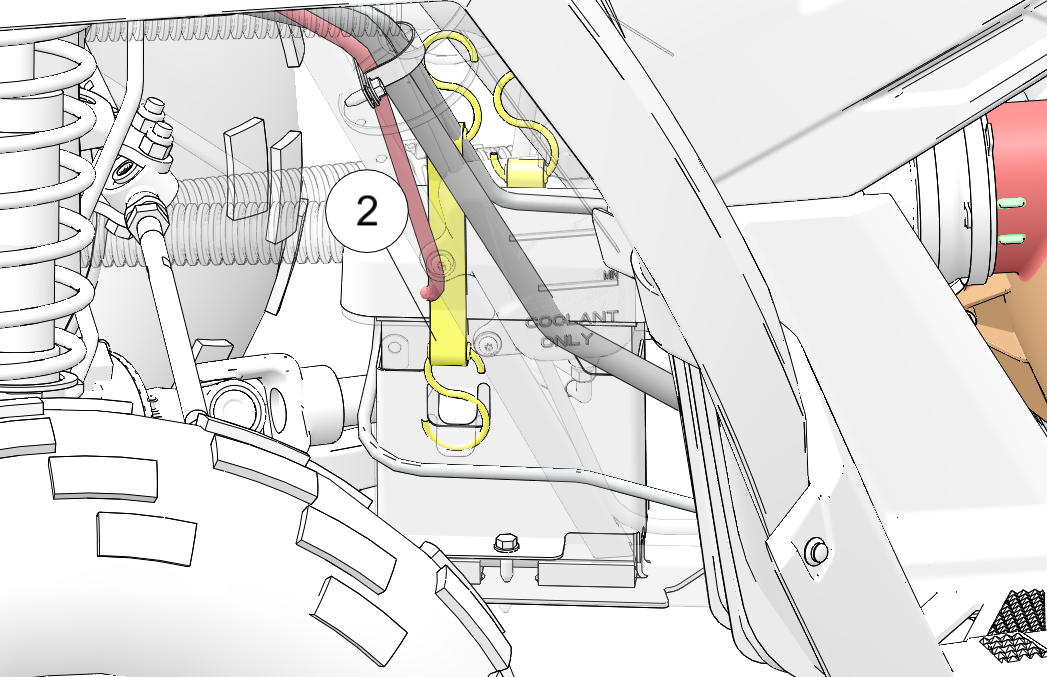
Install the battery strap 2.
-
Verify that cables are properly routed.