Brakes
Aggressively applying the rear brakes when backing down a hill may cause rear tipover, which could result in serious injury or death. Never back down a hill. Use caution when applying the rear brakes. Do not aggressively apply the rear brakes when going forward. The rear wheels may skid and slide sideways, causing loss of control, which may result in serious injury or death.
Front Brakes (Right Lever)
Squeeze the right brake lever toward the handlebar to apply the hydraulic front wheel brakes. This lever does not apply the rear brakes.
Always test front brake lever travel and master cylinder fluid level before riding. When squeezed, the lever should feel firm. Any sponginess would indicate a possible fluid leak or low master cylinder fluid level, which must be corrected before riding. Contact your POLARIS dealer or other qualified service facility for proper diagnosis and repairs.
Rear Brakes (Left Lever)
Squeeze the left brake lever toward the handlebar to apply the mechanical rear wheel brakes. This lever does not apply the front brakes.
Rear Brakes (Foot Brake)
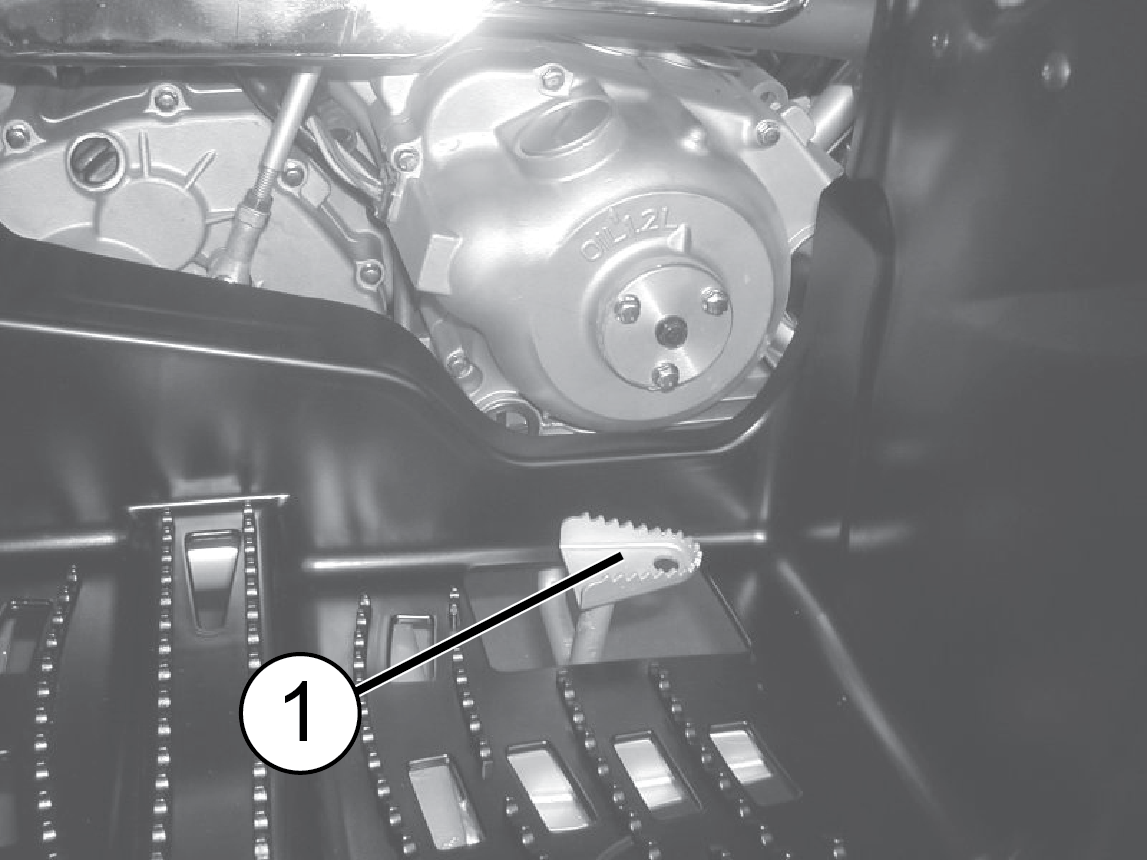
The foot brake 1 operates the rear brakes. The foot brake is located on the
inside of the right footrest. Operate this brake with your right foot.
The foot brake is a mechanical rear wheel brake.
If the rear wheels slide while using the foot brake, reduce brake pedal pressure to brake the rear wheels without skidding.
| PARKING BRAKE | |
|

|
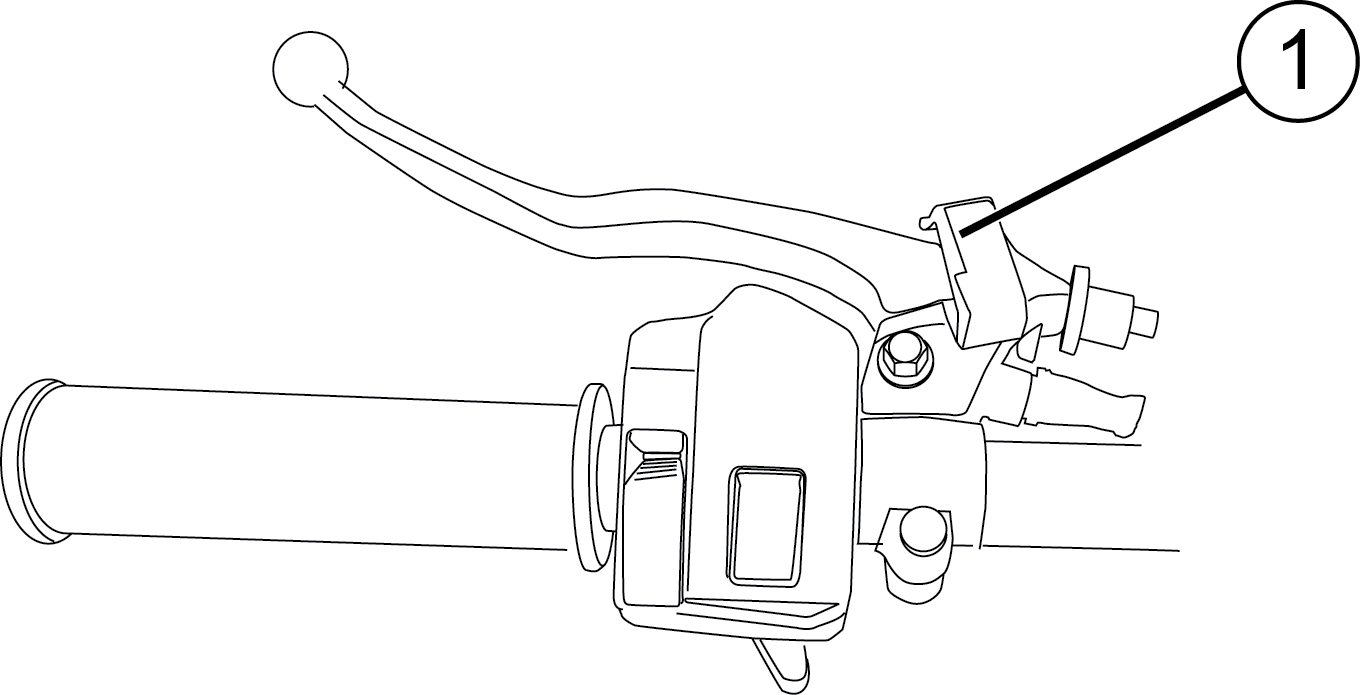
The CVT system is always in forward gear. Using the throttle to warm the engine will cause the vehicle to move forward if the parking brake is not locked. Always lock the parking brake before starting the engine. Always lock the parking brake whenever the vehicle is left unattended.
Brake Fluid
An over-full master cylinder may cause brake drag or brake lock-up, which could result in an accident. Maintain brake fluid at the recommended level. Do not overfill.
Never store or use a partial bottle of brake fluid. Brake fluid is hygroscopic, meaning it rapidly absorbs moisture from the air. The moisture causes the boiling temperature of the brake fluid to drop, which can lead to early brake fade and the possibility of brake failure, which could result in an accident. After opening a bottle of brake fluid, always discard any unused portion.
|
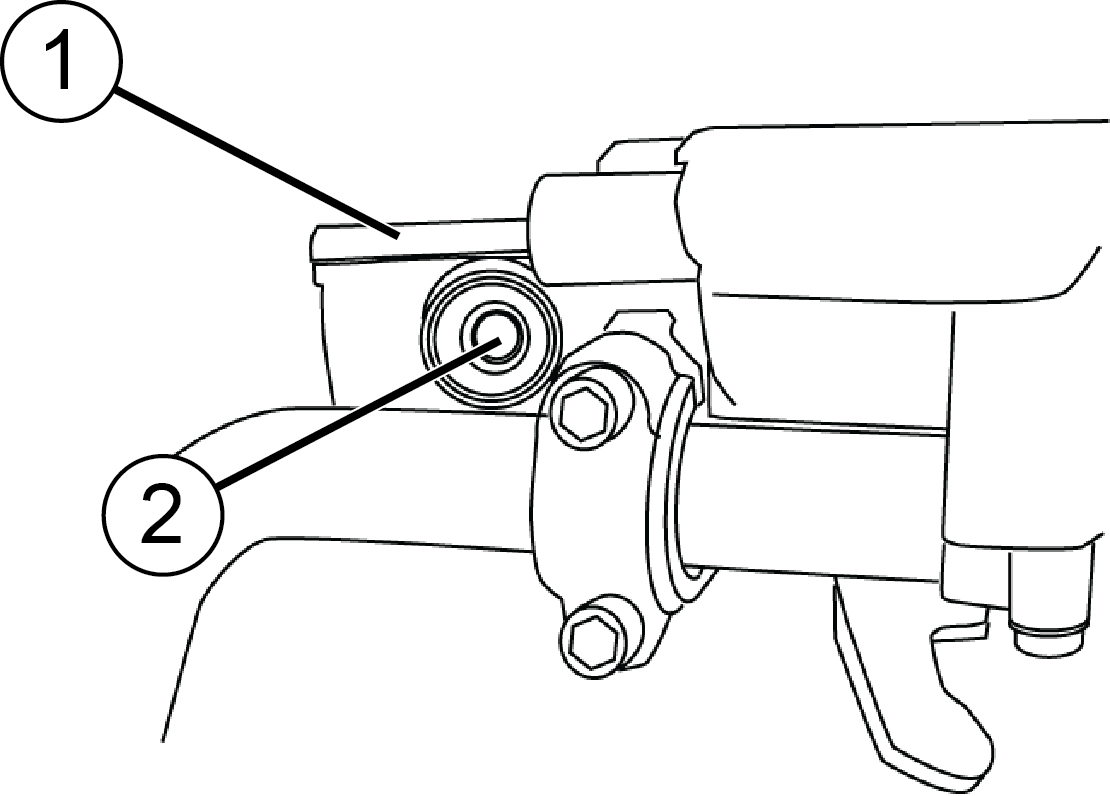
Check the brake fluid level in the master cylinder 1 before each ride. Always maintain brake fluid at the recommended level. The master cylinder is located on the left handlebar. Maintain the fluid level 1/4" (6.3 mm) below the top edge of the master cylinder. Do not overfill.
|

|