Track Tension
Moving parts can cut and crush body parts. When performing the checks and adjustments recommended on the following pages, stay clear of all moving parts. Never perform track measurement or adjustments with the engine running.
Track adjustment is critical for proper handling. Always maintain correct tension and alignment.
|
TRACK TENSION DATA CHART |
|||
|---|---|---|---|
|
Deep Lug Track Type |
Slack Measurement |
Weight |
Measurement/ |
| Series 6 (2.6 in) |
5/8-3/4 in (1.6-1.9 cm) |
10 lbs (4.54 kg) |
16 in (40 cm) ahead of rear idler shaft |
| Series 7 (3 in) | |||
| Series 8 (2.75 in) |
1-1.25 in (2.5-3.2 cm) |
||
| 2.0 Crossover |
5/8-3/4 in (1.6-1.9 cm) |
||
Tension adjustments should be made only after the track is warmed up and limber.
-
Turn the engine off.
-
Lift the rear of the snowmobile and safely support it off the ground.
-
Place the recommended weight or downward pressure on the track at the specified distance (see chart) ahead of the center of the rear idler wheel.
-
Measure at the point where the weight is hanging.
-
Check for specified slack between the wear surface of the track clip and the plastic slider. Refer to the Track Tension Data Chart above.
If the track needs adjustment:
-
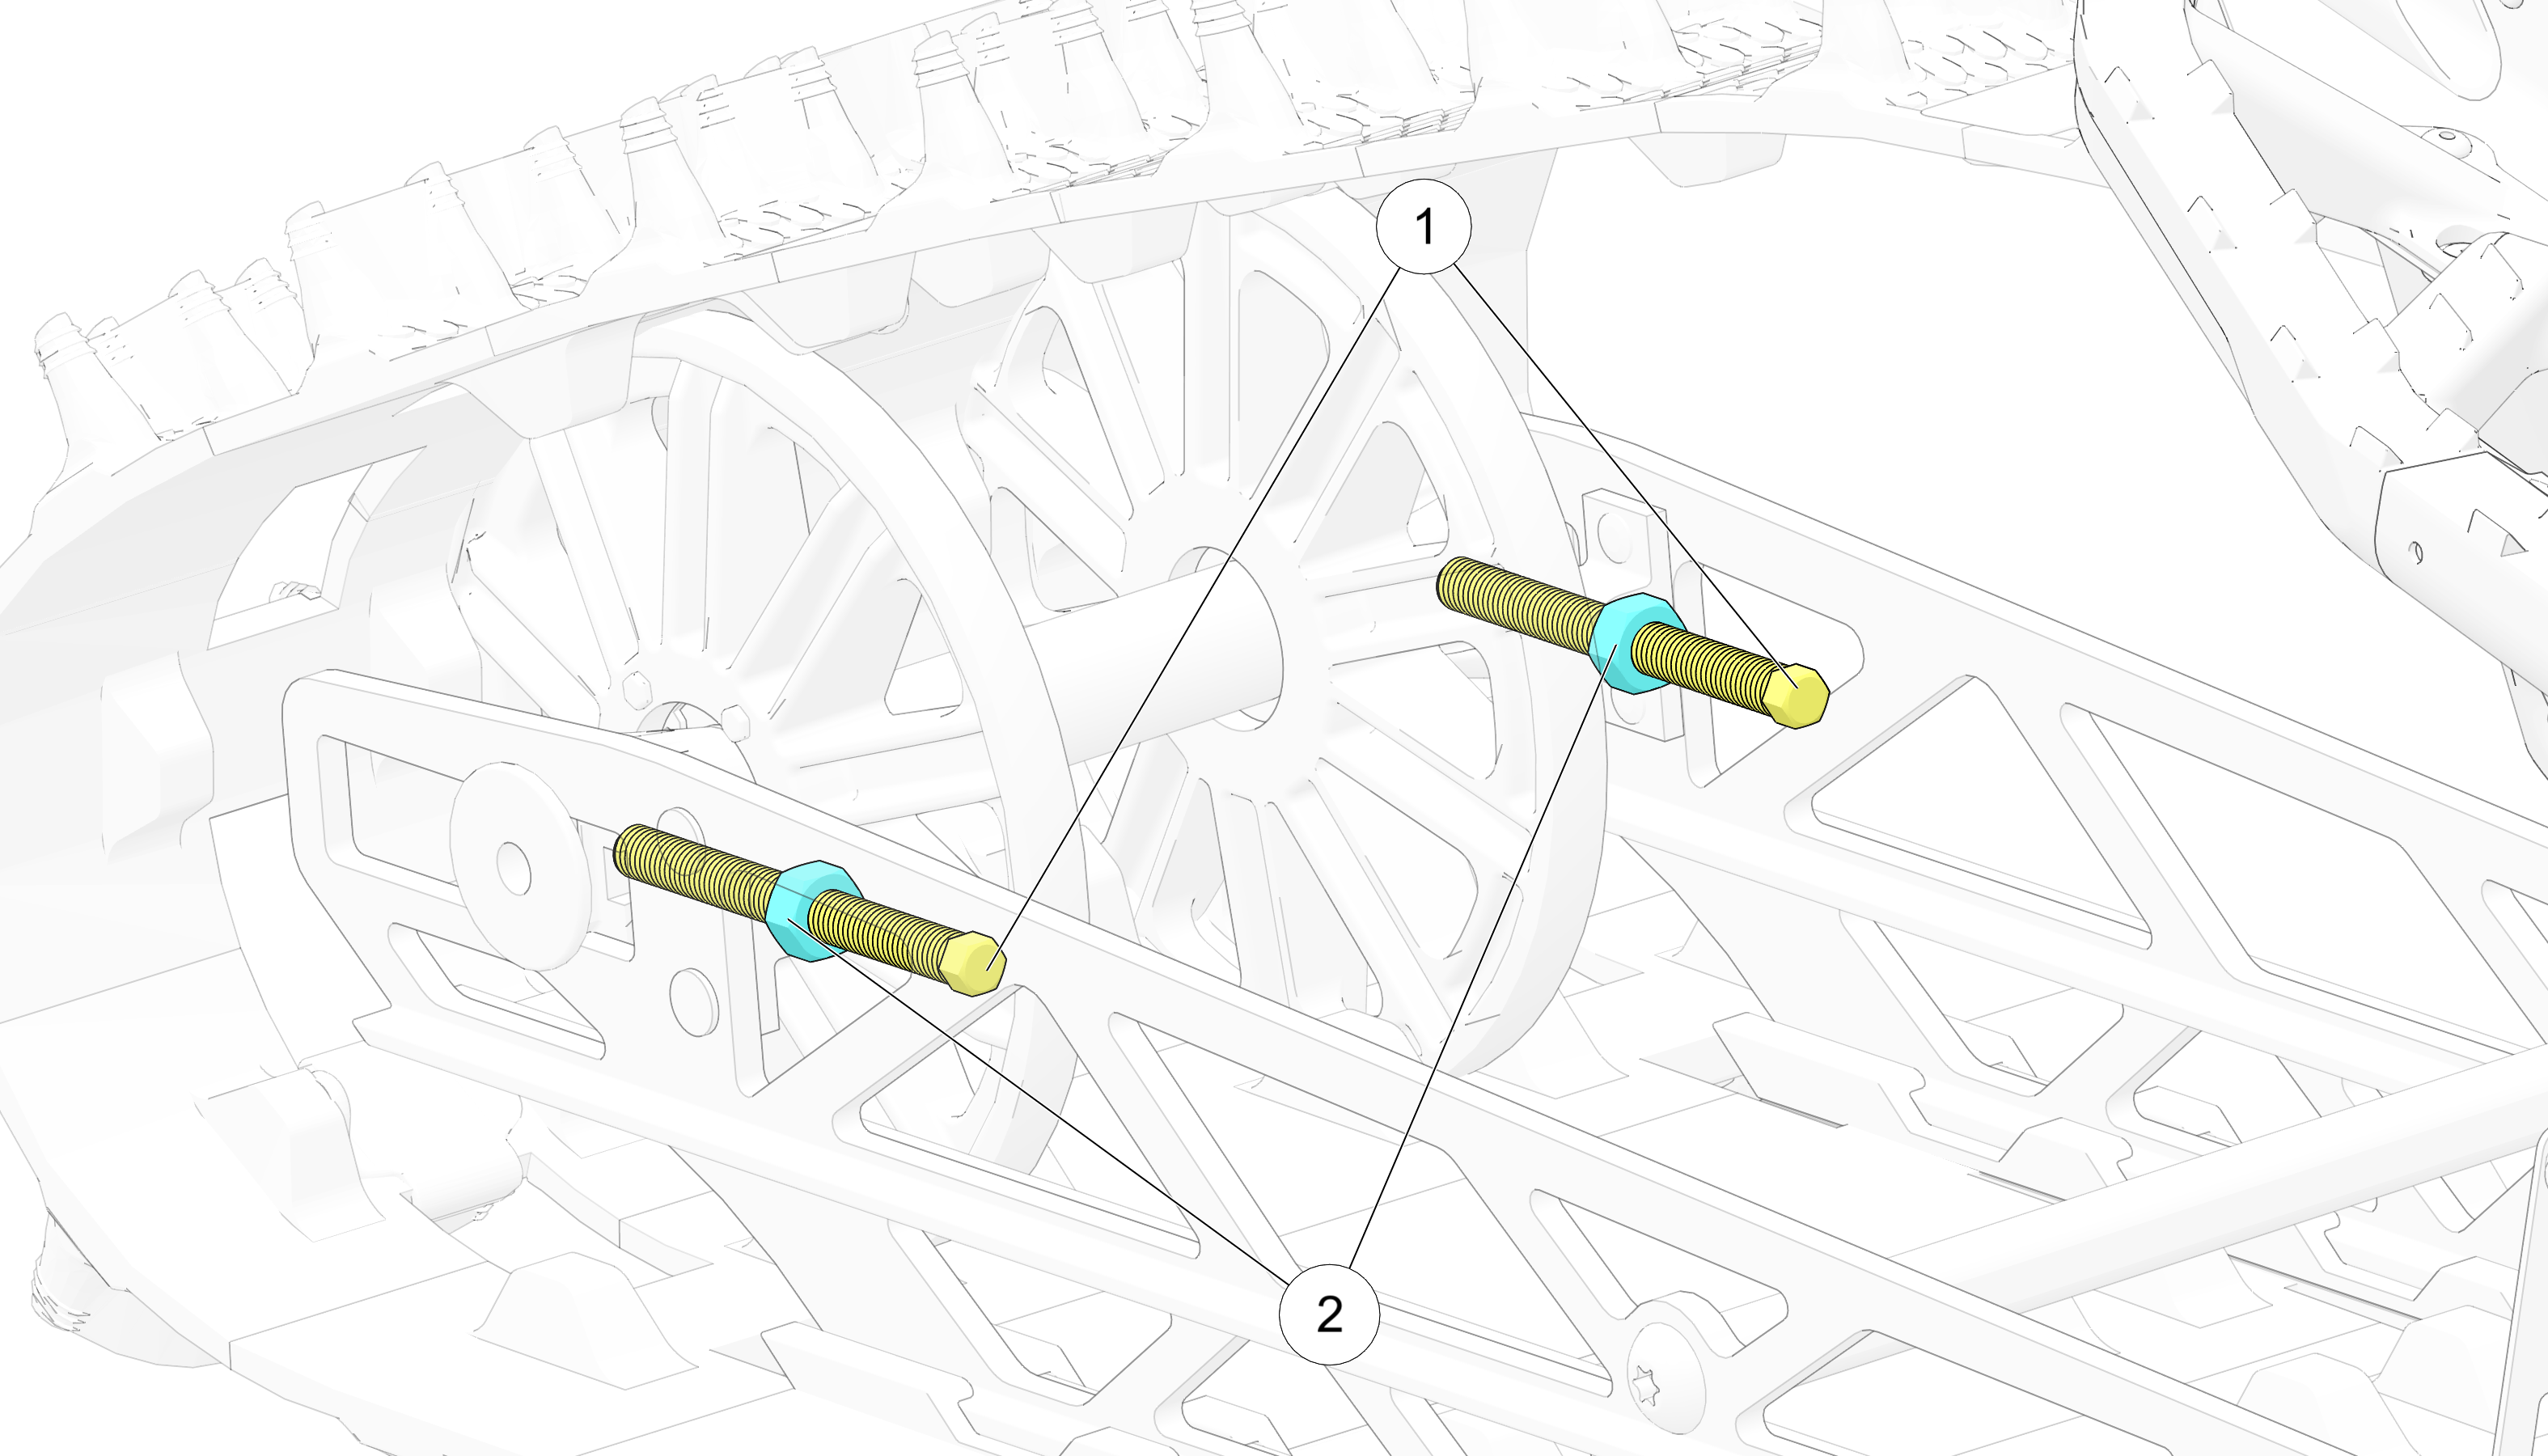
Loosen the rear idler shaft bolt 1.
-
Loosen the locknuts 2.
-
Tighten or loosen the track adjusting screws to provide equal adjustment on both sides of the track.
-
Repeat the measurement on the other side of the track.
TIPCheck more frequently when the snowmobile is new.
-
Start the engine and slowly rotate the track at least five revolutions. Let the track come to a stop (do not apply brakes).
-
Check track alignment and adjust as necessary.
-
Tighten the locknuts.
-
Tighten the idler shaft bolt.
TORQUEIdler Shaft Bolt
55 ft-lbs (75 N·m)