Club Fairing
REMOVAL
-
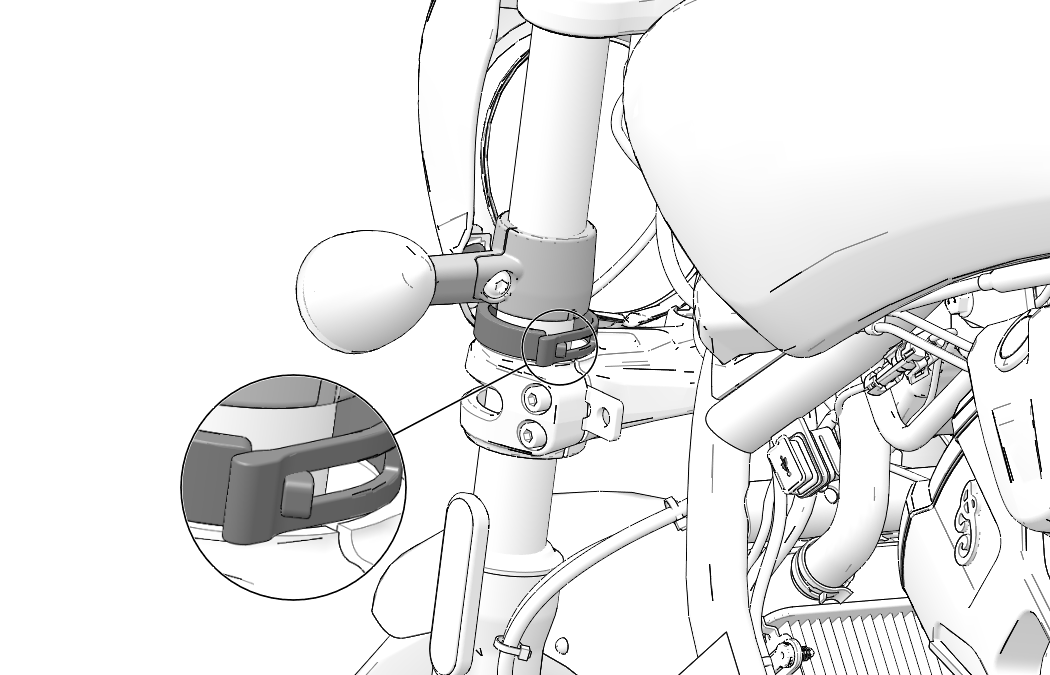
Remove the quarter fairing rubber straps away from the vehicle fork, below the turn signal rubber sleeves.
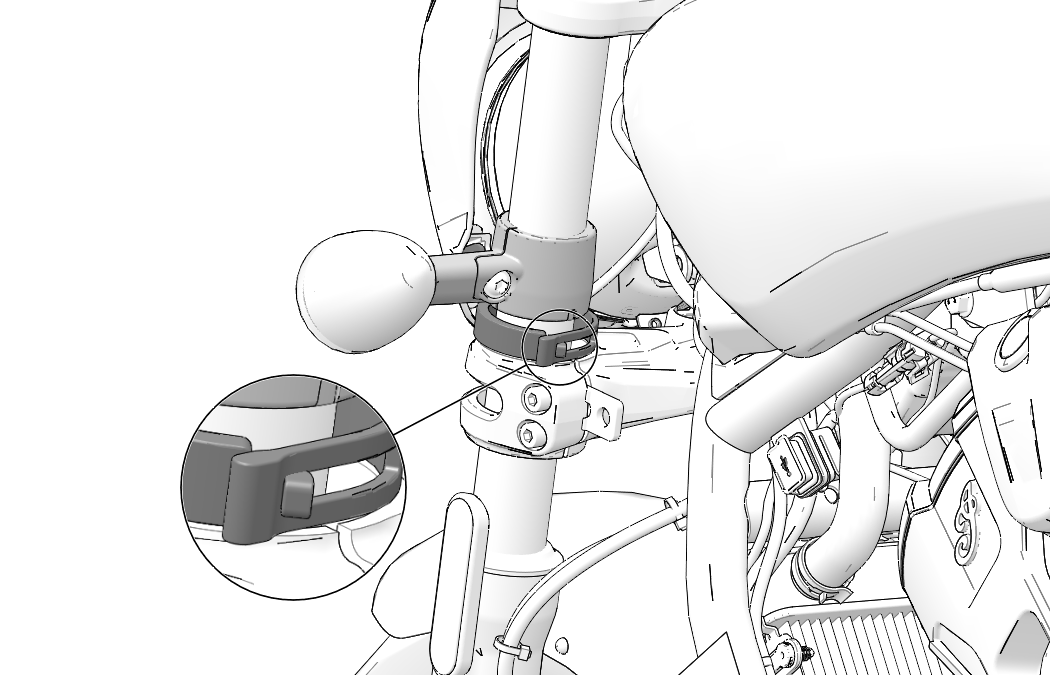
-
Remove the two mount screws from the quarter fairing mount. Remove the quarter fairing from the vehicle.
NOTICEHold the quarter fairing in place while removing the mount screws to prevent damage.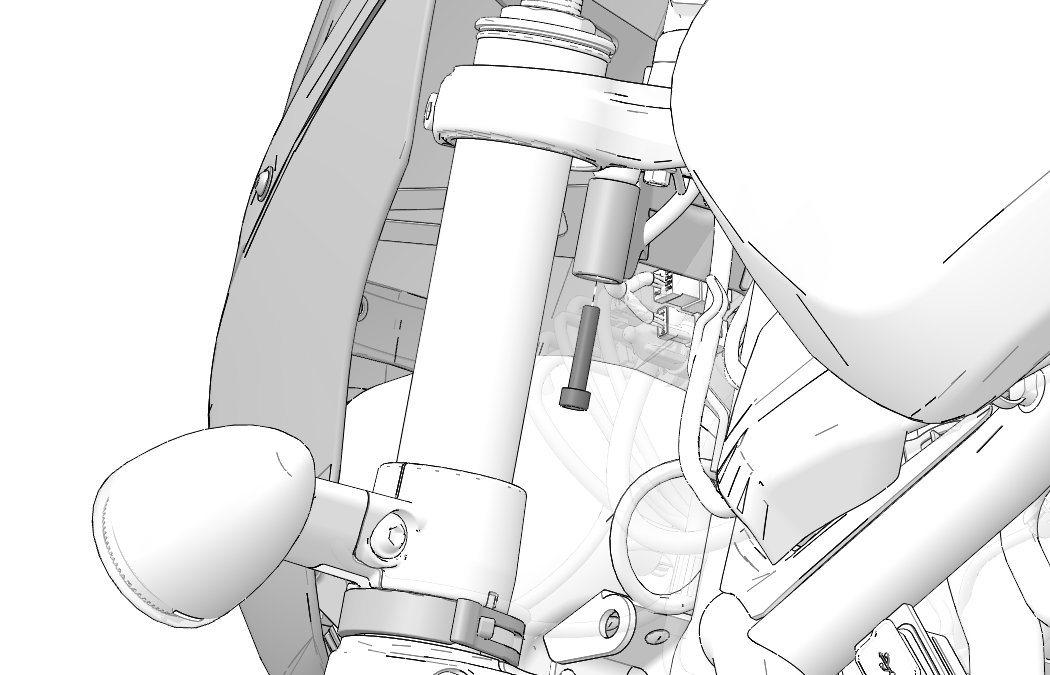
INSTALLATION
-
Make sure the quarter fairing is fit adequately around the headlight
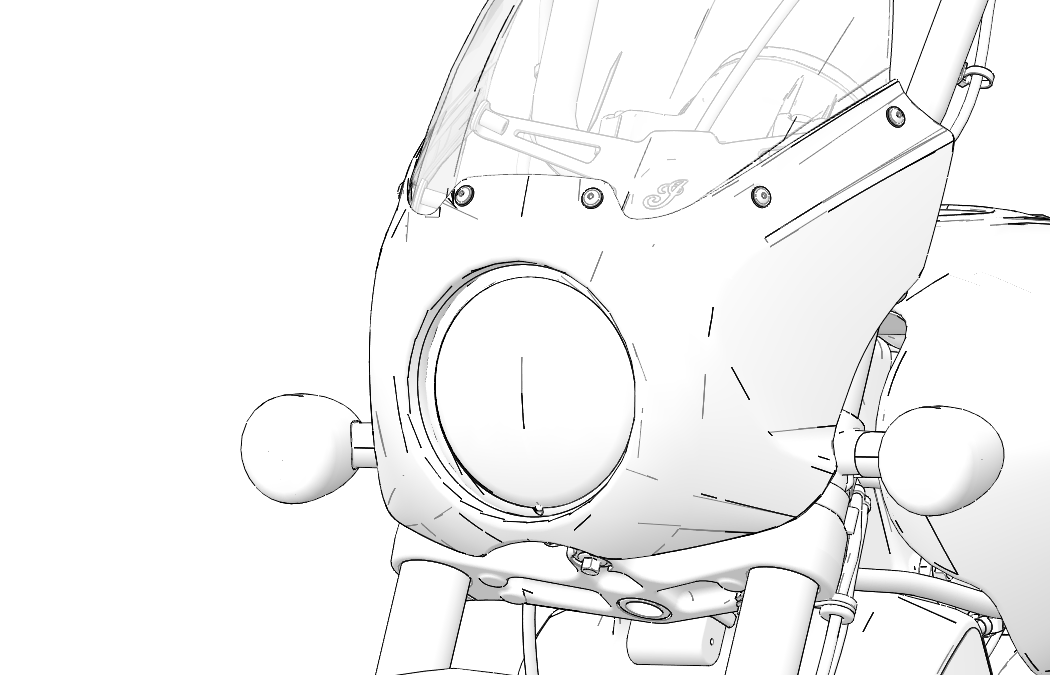
-
Hold the quarter fairing onto the bike. Loosely install the two quarter fairing mount screws into the quarter fairing.
DO NOT torque fasteners at this time.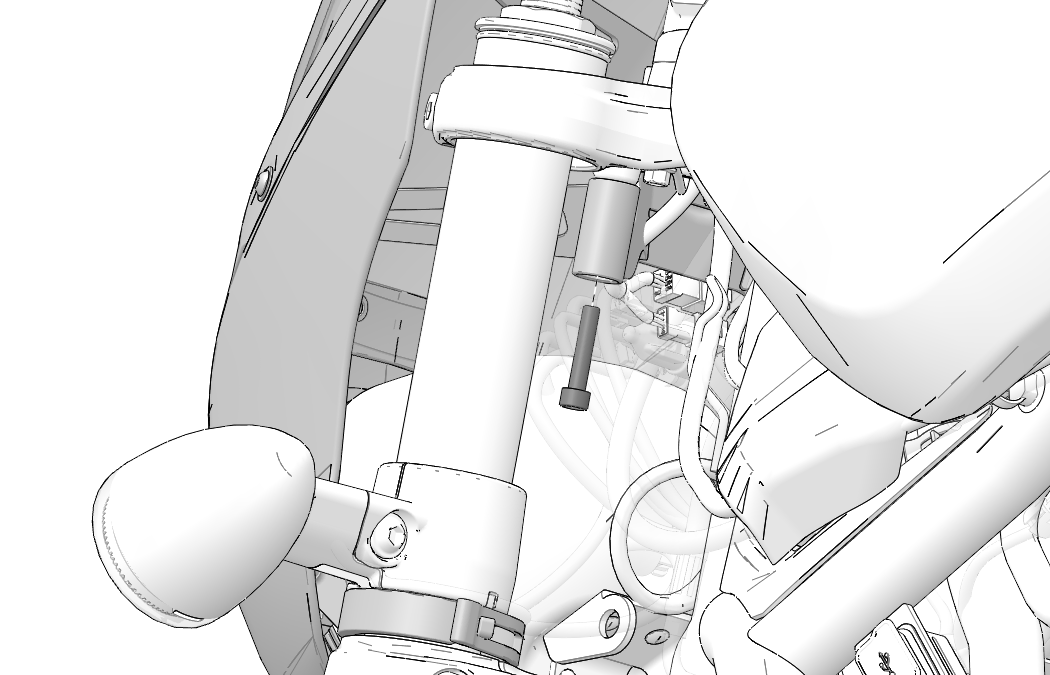
-
Put the quarter fairing rubber straps onto the vehicle fork, below the turn signal rubber sleeves.
-
Torque the two quarter mount screws to specification.
TORQUEMount Screws:
84 in-lbs (10 N·m)
NOTICEMake sure the wiring is routed correctly in the turn signal rubber sleeves after installation of the quarter fairing.